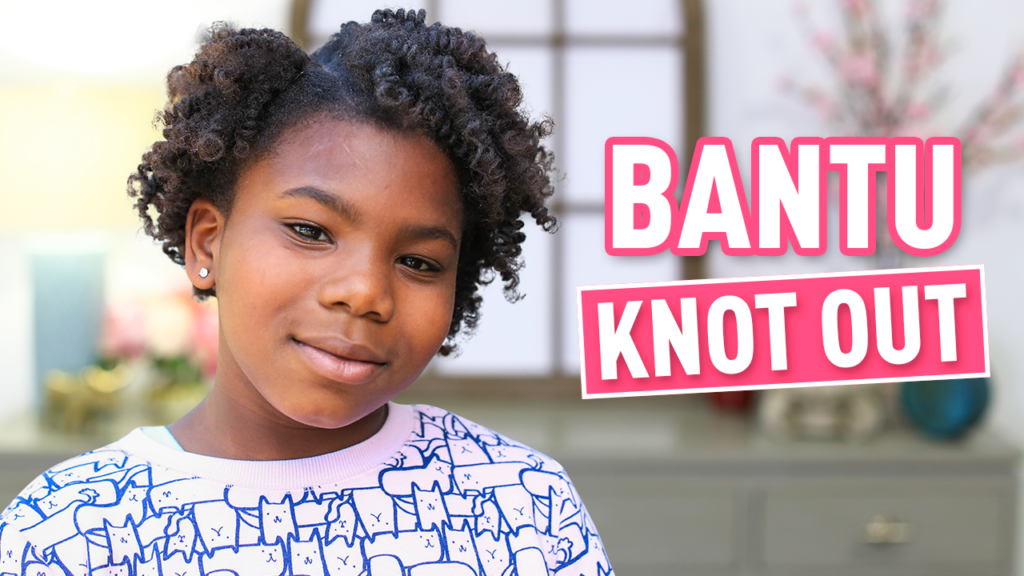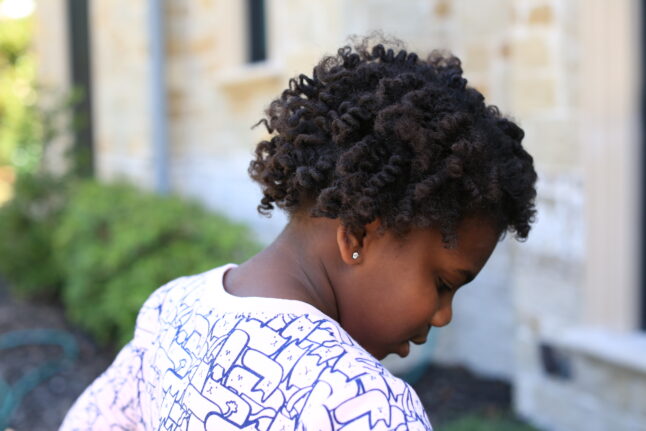
I love playing with Paisley’s hair, but I’m always looking for ways to create cute hairstyles using as little heat as possible. This Bantu Knot Out hairstyle delivered on both counts and will last for a couple of days. Bonus!
This hairstyle actually takes some prepping before you start, so Paisley’s Bantu knots had been sitting for a couple of days. Remember to keep hydrating as you go. To prevent fluffing and puffy, I highly recommend the Hairitage “Take Your Vitamins” Argan Oil. You want to rub and twist the hair out in the OPPOSITE direction that you twisted the hair into the knots. The Argan Oil is also great for keeping the scalp hydrated so try to work it in as much as you can. Don’t forget to really take your time when you’re twisting out the Bantu knots. Grab your tools and let’s get started!
Items Needed: Hair Pick, Hairitage “Take Your Vitamins” Argan Oil, Hairitage “To The Max” – Maximum Hold Styling Gel
Time Requirement: 10-15 minutes
Skill Level: Medium
Bantu Knot Out Tutorial | No-Heat Curls

- Begin with bantu knots all over the head – Paisley’s had been sitting for a couple of days.
- Apply an argan oil to the hair to keep it moisturized as the knots come out.
- Begin to untwist the hair while running the oil through it (keeps the hair from immediately puffing out, and adds TONS of moisture!) – Twist the hair out in the OPPOSITE direction that you twisted the hair into the knots
- Slowly and carefully separate the hair, depending on the size of the knot, you’ll likely get 3-5 curls out of each knot.
- Continue this process of releasing the knots and separating the curls all over the head.
- Since the scalp is very exposed, now is a perfect time to add some of the argan oil to the scalp (if needed) for extra moisture and hydration
- Once all of the knots are released, use a hair pick to to loosen up the part lines down at the root of the hair.
- Leave the curls free, or part the hair and pin back a section of hair by the face to take the look to the next level!
Conclusion
Once all the knots are out, use a hair pick to loosen up the part lines at the root of the hair so you can hide those lines. Be sure to stay close to the root – if you go out to the ends, you risk the curls getting too puffy. You’ll get adorable corkscrew curls that you can leave free, or part the hair and pin back a
section of hair by the face to take the look to the next level! Use some To The Max styling gel by
Hairitage for a smooth, defined edge.
Make the style last by putting the hair up into a pineapple and covering with a head wrap at night. Over the next few days, the curls will loosen and get puffier for a whole new look!
Watch the full tutorial:
For more Cute Girls Hairstyles, click here!
Keep on writing, great job!