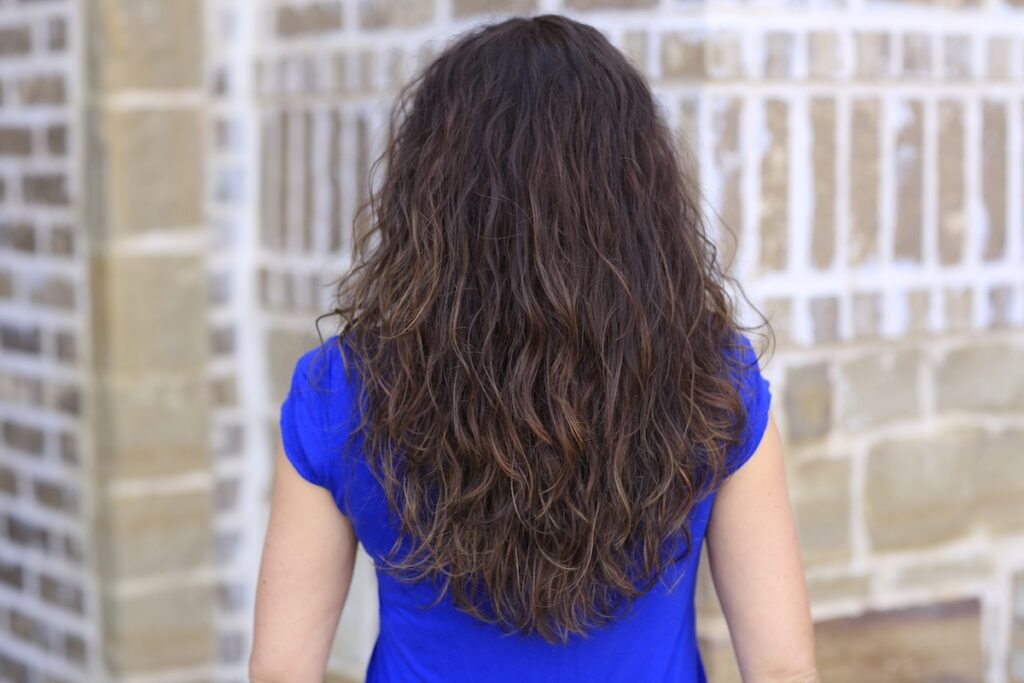
You’ve likely seen a recurring style theme on me in most of our videos going back for years. I love to wear curls and waves! Viewers have been asking for these tutorials for a long time, yet we hadn’t actually filmed one for my favorite curly style… until today!
This week, we are showing you how to get salon-quality Diffused Curls at home! I was inspired to do it by our participation in Suave Professionals’ Style It Yourself program. Yes, this technique is my secret weapon… and has to be one of our most-requested tutorials ever!
Simply click below to see the video tutorial!
The steps to this technique are very easy. All you need to begin is damp hair, an excellent curl-defining mousse, and a hair dryer {with a diffuser attachment}.
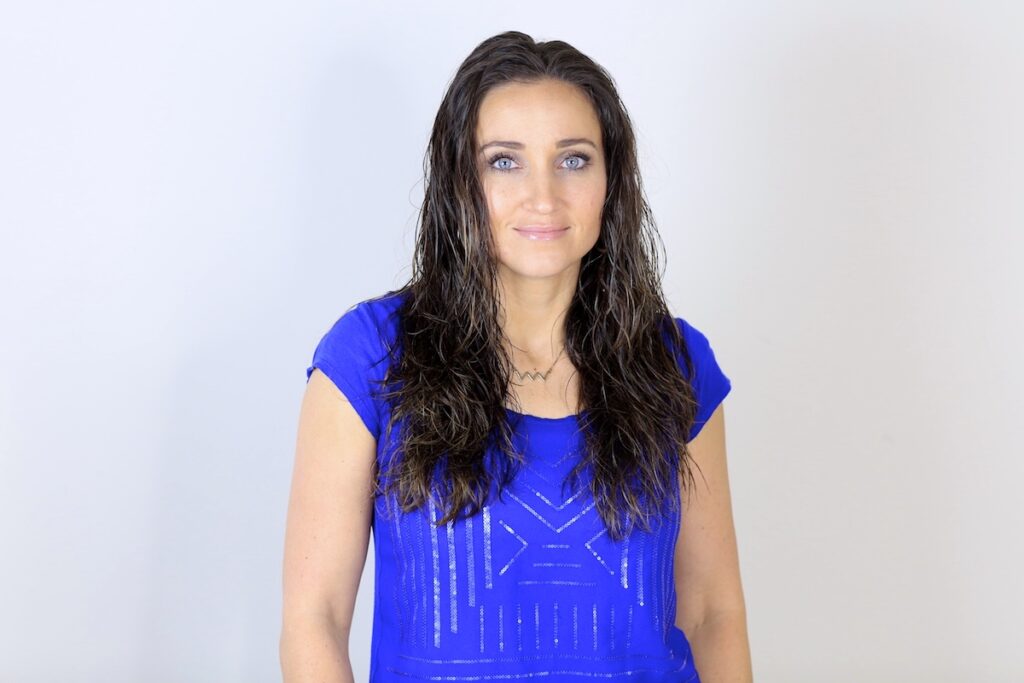
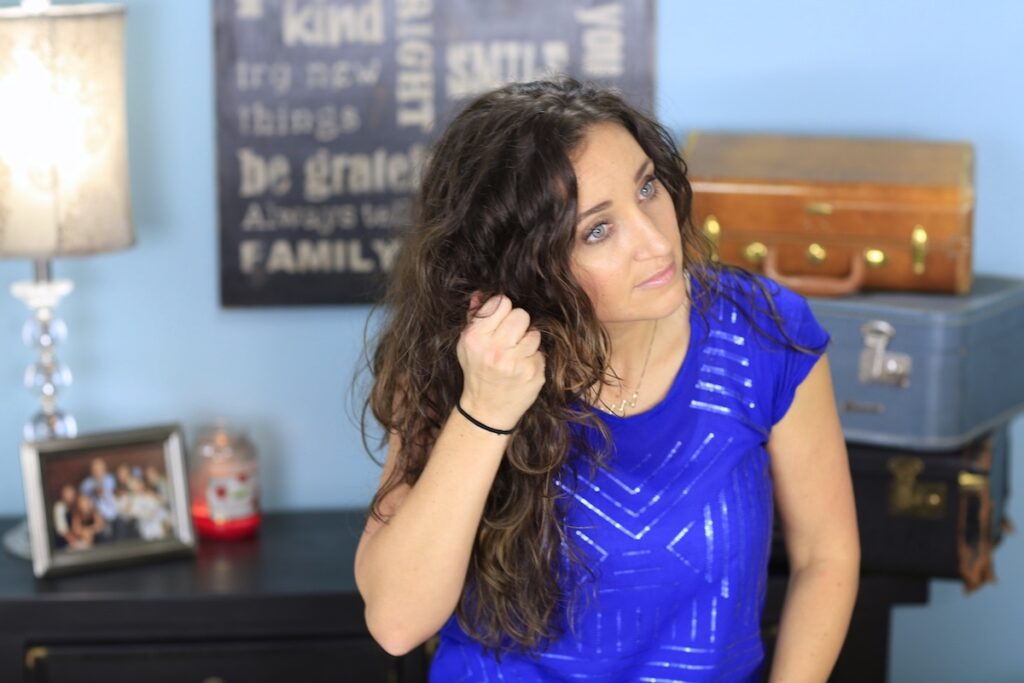
You’ll notice that my damp hair starts with a little bit of wave, I want to add a more voluminous curl without using direct heat. I’ve seen girls with more straight hair than I have get beautiful curl using this technique. {My daughter Kamri is a good example!}
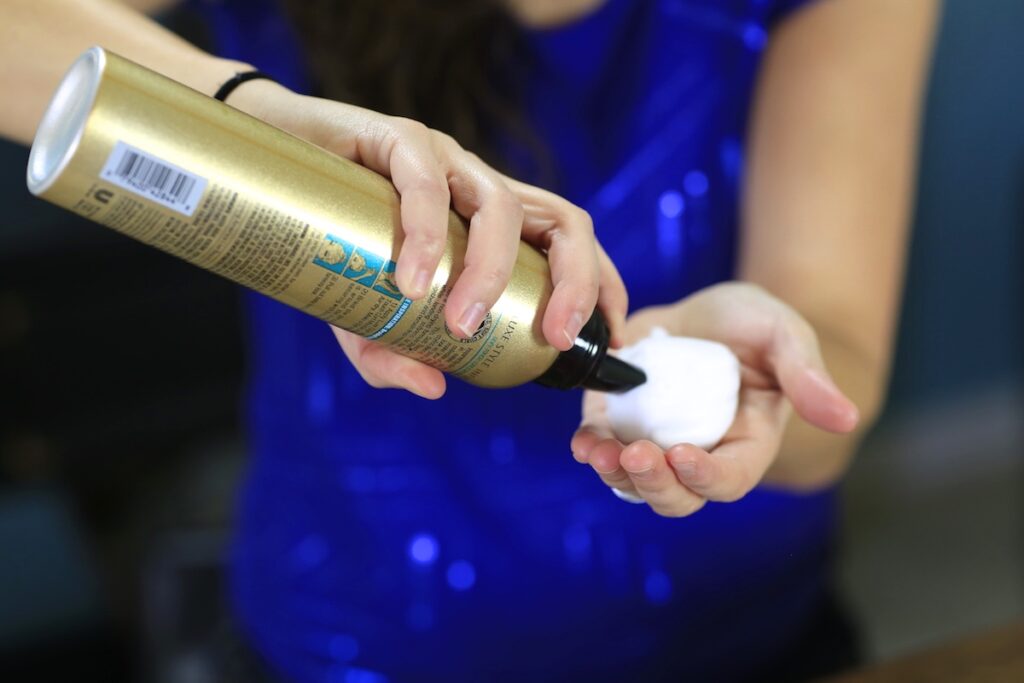
I then add Suave Professionals Luxe Curl Mousse to my hair, making sure that I get it in the base of the hair, and then drag it down the ends.
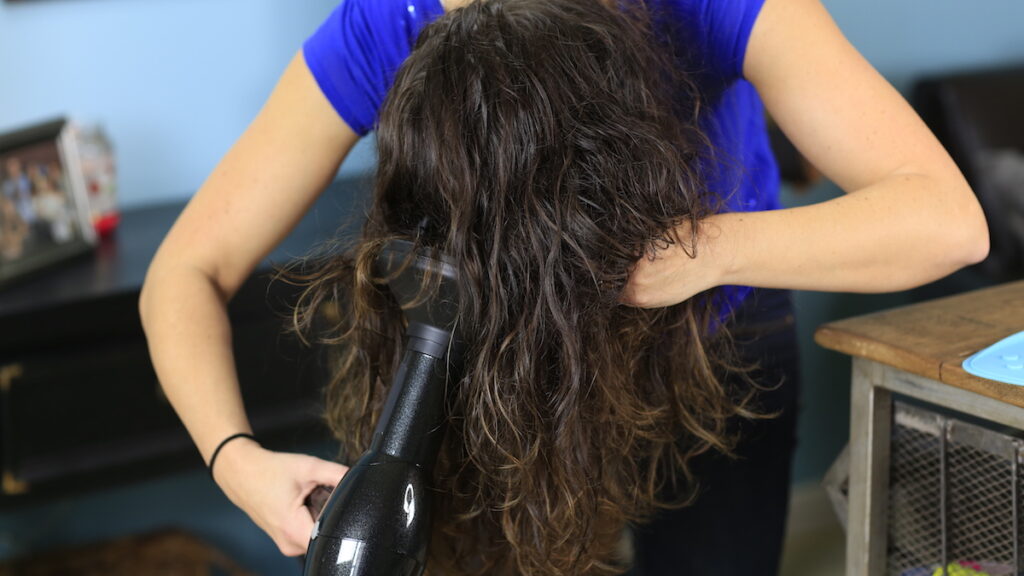
The diffuser is essential, as it slows down the air and disperses it evenly from the dryer while its fingers gently separate the hair strands without blowing out your curl. Using this technique without good product and the diffuser {using a hair dryer only} will likely leave your hair frizzy.
It is important to scrunch the hair with your hand as you dry it, which combined with the product, is what helps lock in the curl.
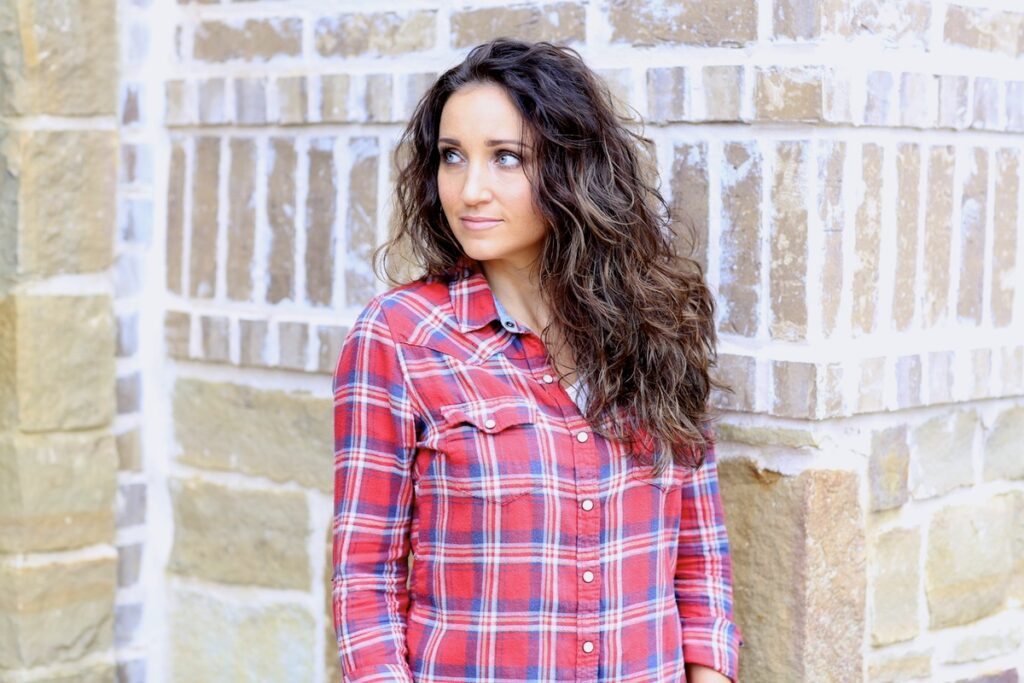
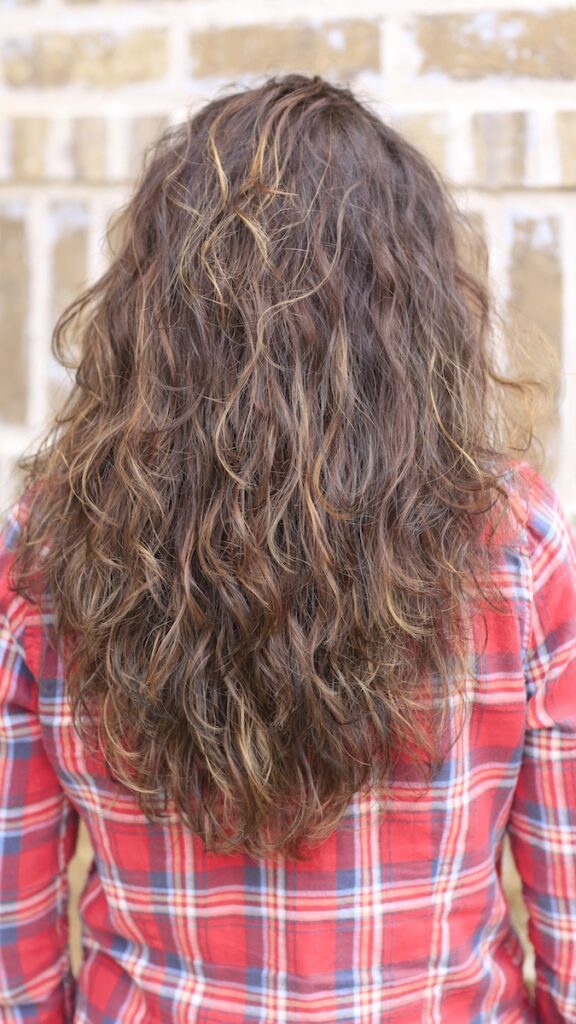
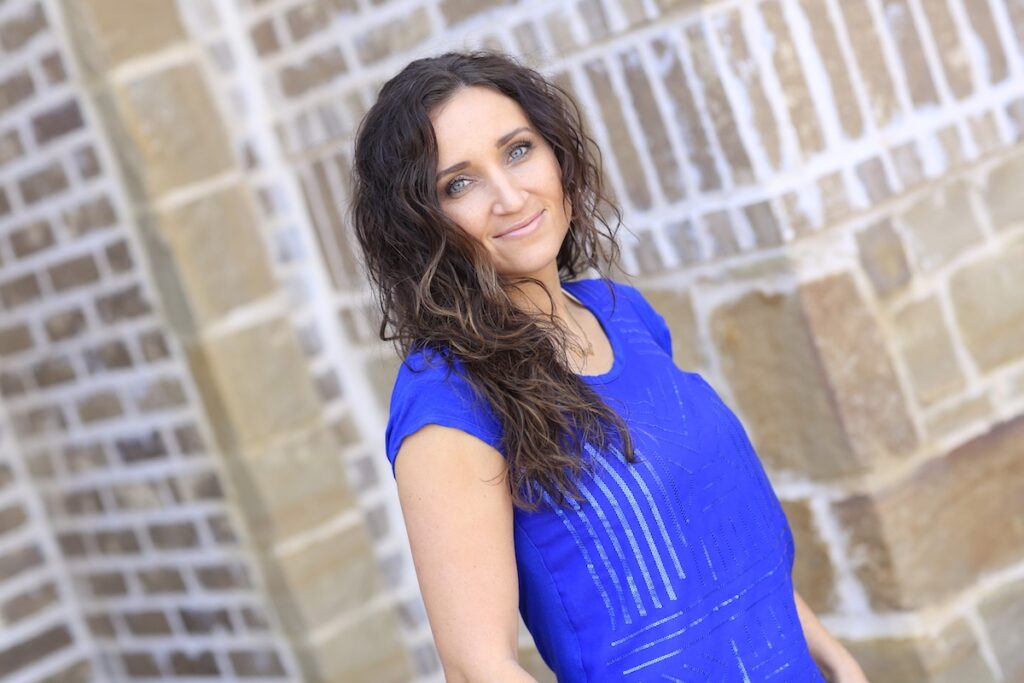
Once the hair is nearly dry, I flip my head back up and set my part line. Then I finalize the curls around my face with the dryer, and there is the final look!
Sometimes it’s not always about the style, but the base! You know that look that many updos have, with a beautiful curly base? You can use these curls for that, and any number of hairstyle combinations {accent braids, fishtail braids, buns, Dutch Braids, twists, French braids, pancake braids, side braids, etc}. You can now up your hair game knowing this curl technique!
Items Needed: Hair dryer, diffuser attachment, Suave Professionals Luxe Curl Mousse, hairspray {if desired}.
Time Requirement: 7-10 minutes
Skill Level: Easy
Step-by-Step Instructions:
- Begin with damp hair…
- Add in mousse, I use a generous amount ensuring that I have a little spread all over my thick hair {the mousse will help define the curls, but will still leave the hair soft and frizz resistant}…
- Grab your blow dryer and add the diffuser attachment {a diffuser helps to disperse the air coming out of the blow dryer. Without it, the air is too strong and will blow your curls out of shape and cause them to frizz. The little fingers on the diffuser will also help to separate the hair as it dries}…
- Next, flip your head upside down and shake it a few times {this allows the hair and any curl you have to settle into its natural fall pattern}…
- Turn the blow dryer to medium, and begin drying at the ends of your hair…
- Gently move the diffuser in and out of your hair in an upward motion {don’t be too forceful with your hair}.
- Then, while drying, take your free hand and gently “scrunch” your hair as it dries {this, along with the product, is what helps lock in curls}…
- As you reach the top of your head, use the diffuser to dry your roots a bit {you can do this by placing the diffuser closer to the roots for just a second or two}…
- Continue this pattern on all then air until it is about 85% dry…
- Then, flip your head back up and set your part line as well as the front curls around the face {if I need a little more curl, I make sure to diffuse a bit more around my face and scrunch with my hand. This is all specific to your personal taste, and how much curl and structure you want. Remember that this is a NATURAL curl style so it’s not meant to be perfect or too uniform. The beauty in the style lies in the unique curl patterns and definition brought out by the mousse}…
- Depending on your hair, the curl may look too voluminous. Don’t worry, your hair will settle after a few minutes…
- At this point, you can add in a little hairspray for extra hold, and to finish the look.
- Add in an accent braid to complete the look {if desired}.
Please leave a comment below if you would like to see more curly hairstyles, or any other hairstyle ideas for future posts that you may have!
Happy Hairstyling!
Don’t forget to watch BrooklynAndBailey‘s video from last week where they teach us 3 Cute Lip Looks! Simply click below…


Gorgeous !
For some reason or another, I can’t see all of this text, the text keeps disappearing? Are you utilizing XHTML?
Yes, I love seeing a natural curly/wavy hairstyle tutorial! My daughter loves your website and is always trying out the different hairstyles. But, she and her sisters all have curly/wavy hair and she is always wanting to straighten it. I have discovered the Curly Girl Handbook by Massey (I realized I had wavy hair…who knew!). Lots of info in it. I would love to have you include some of those techniques in your website and help young girls embrace their natural curls. “Friz is just a curl waiting to happen.”
More curly hair tutorials!!!!!!
Omg! Ive been ironing my hair to straighten and using a curl defining cream for curls but never cud figure out how to get the curly look with a blowdryer. Thanx you rock!!!
What if your hair is naturally straight? Will it still work?
Love the cute lipstick ideas! 🙂
dear Mindy, i was wondering if you have any suggestions on how to strainghten my really frizzy, thick hair without a straightener becuase i can’t do anything with my hair out
please reply 🙂
Lol okay just did dis for fun *clare
Thank you for this hairstyle!!!!! This is what I’ve been looking for, for, forever!! Finally a super-awesome curl, that only takes five min.!! I pretty much gave up hoping this hairstyle existed!!! Thanks again sooo much Mindy!
You are so welcome! xoxo
I just loved this hairstyle!!!! Do you think you could do more curl tutorials?
Yes, Jennifer! We are planning on it! xoxo