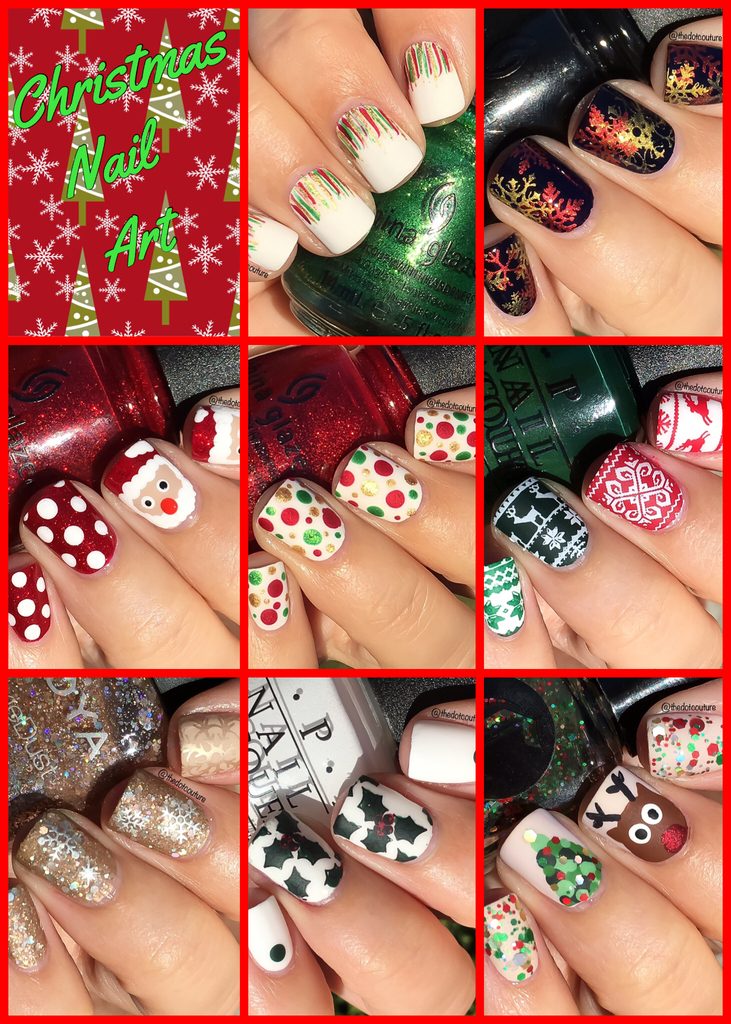
Happy almost December everybody! Tis the season for hot chocolate, snowflakes on your tongue, decking the halls, and cute Christmas nails! So check out some of these festive (and easy) nail art ideas for you to DIY or bring in to your favorite nail tech.
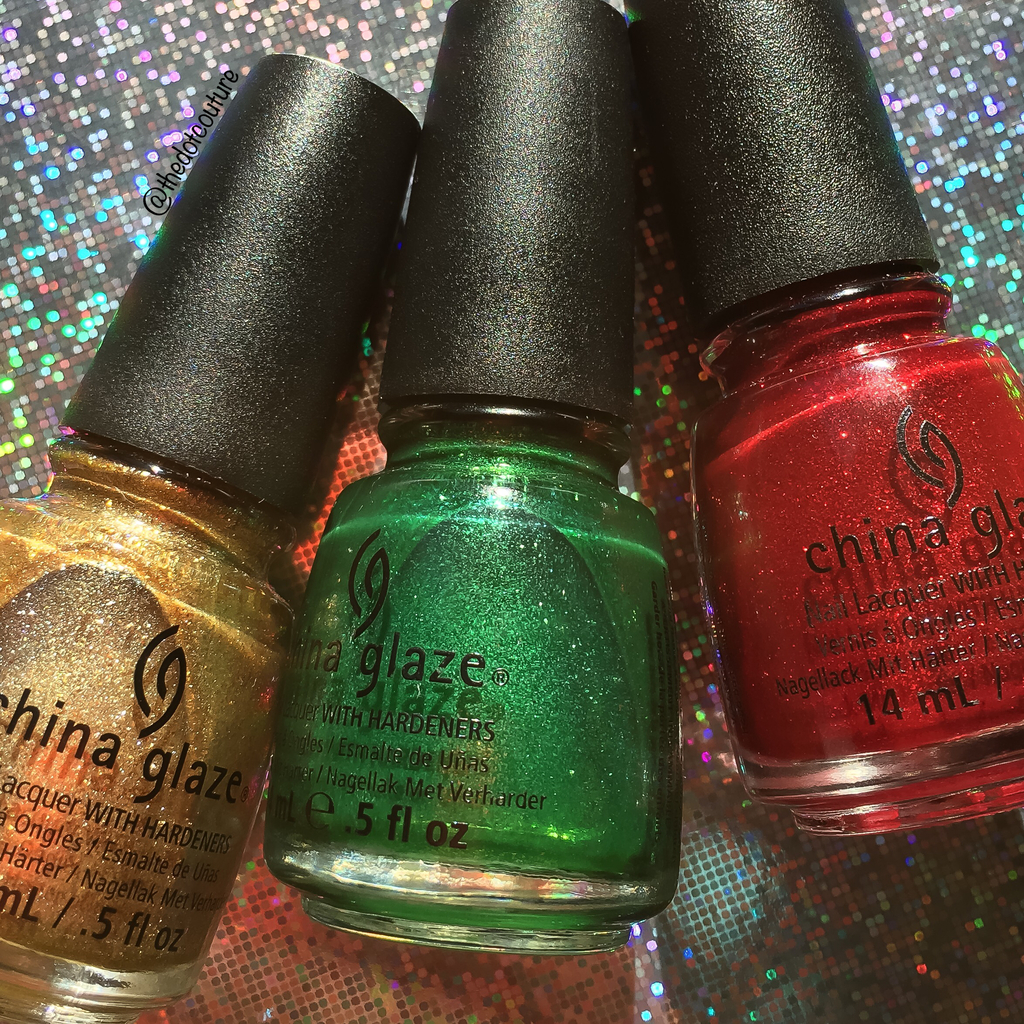
The basic palette for a good holiday mani is green, gold, and red. Preferably sparkly. You are by no means limited to these colors but no matter what you do in this color scheme it pretty much screams Christmas.
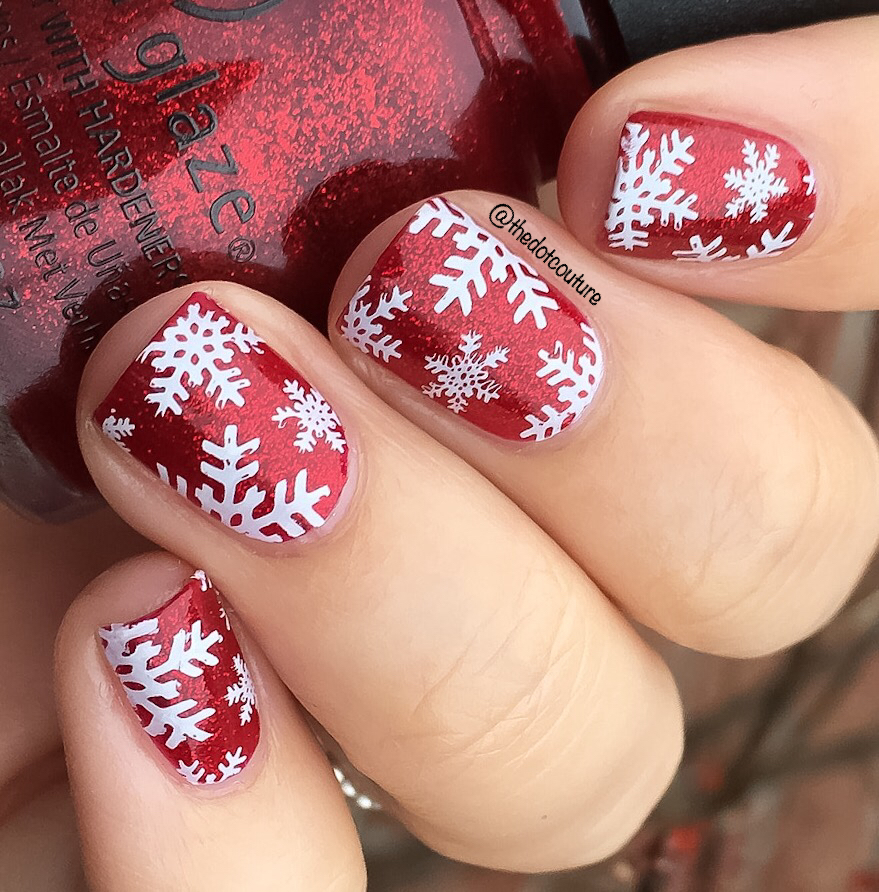
First up is the quintessential sparkly red base with white snowflakes. This mani is perfect for your school or work holiday party, or for opening presents Christmas morning. The snowflakes were made with a MoYou London stamping plate but you could easily freehand with acrylic paint!
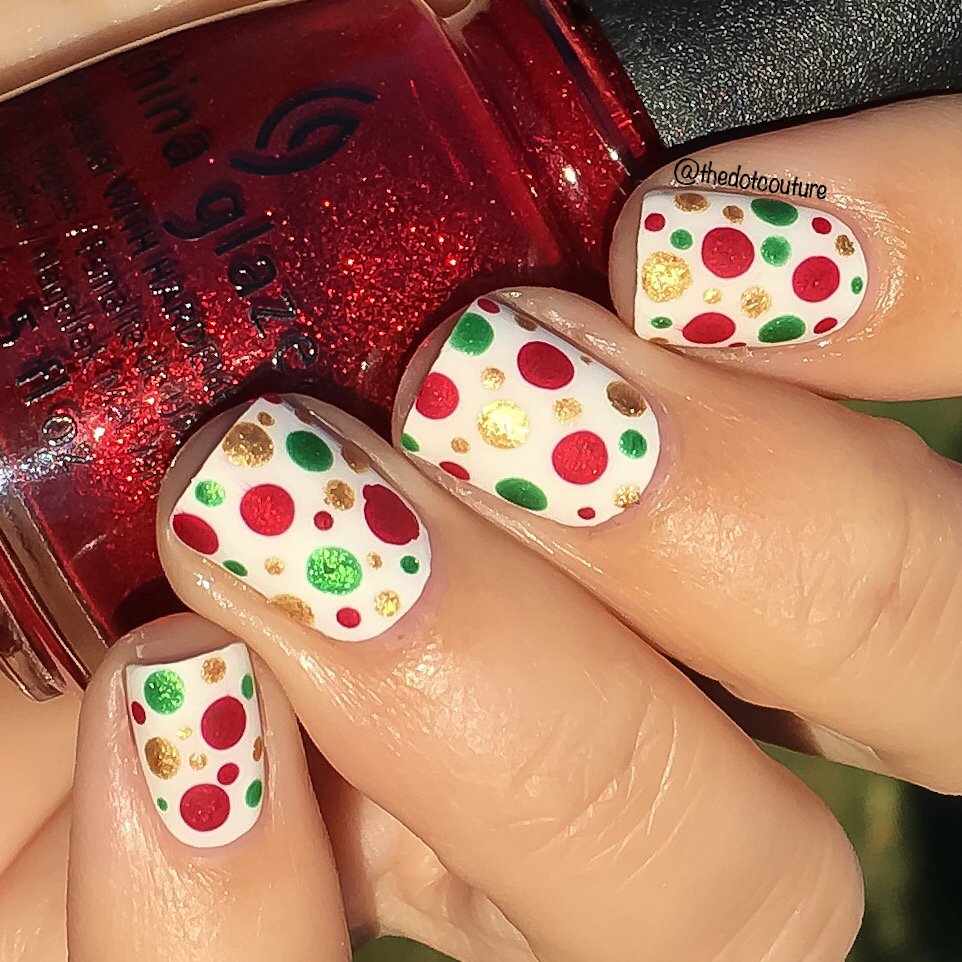
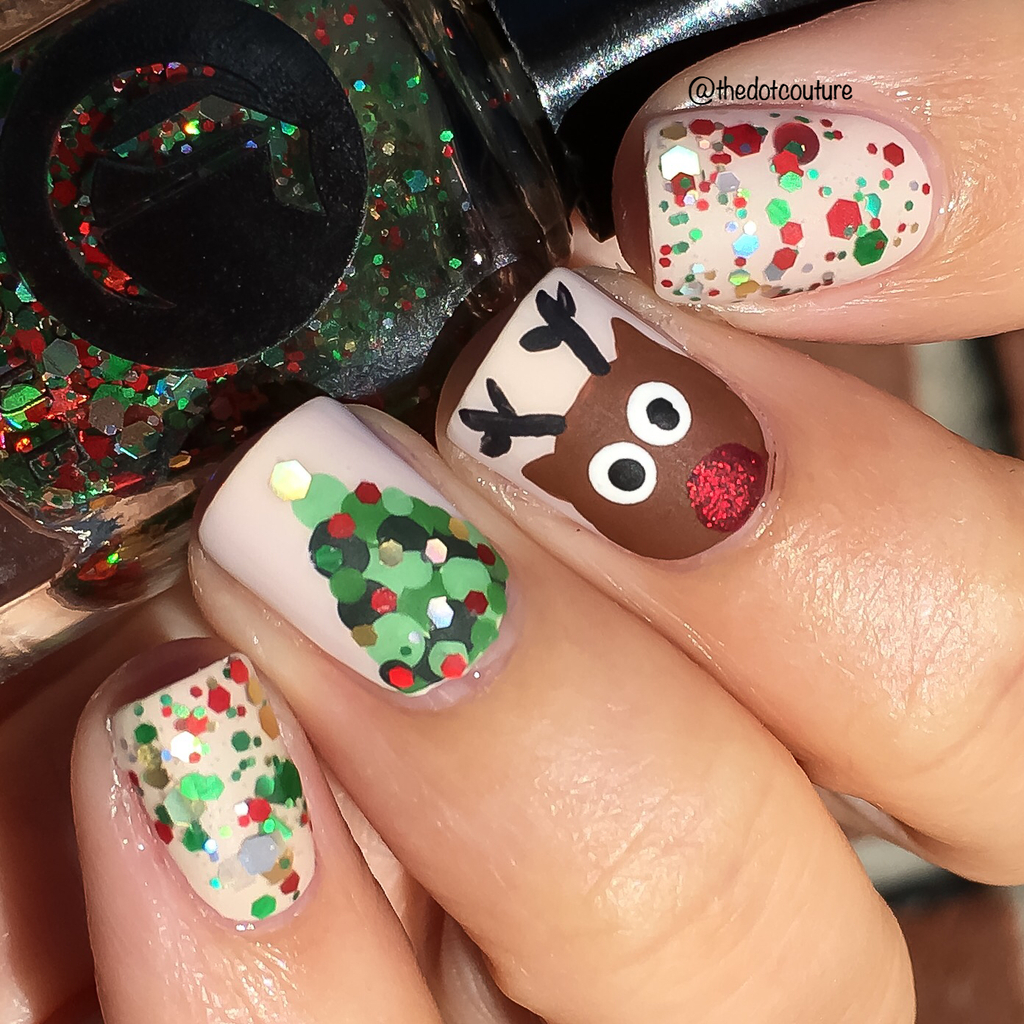
Look how cute a simple dotticure can be when you use Christmas colors. I used the end of a nail art brush for this!
How about some freehand reindeer? I used acrylic paint to create a Rudolph nail and then created a Christmas tree using polka dots and green acrylic paint. Placing a few glitters from a festive-inspired polish makes the tree look like it’s decorated – complete with a star on top!
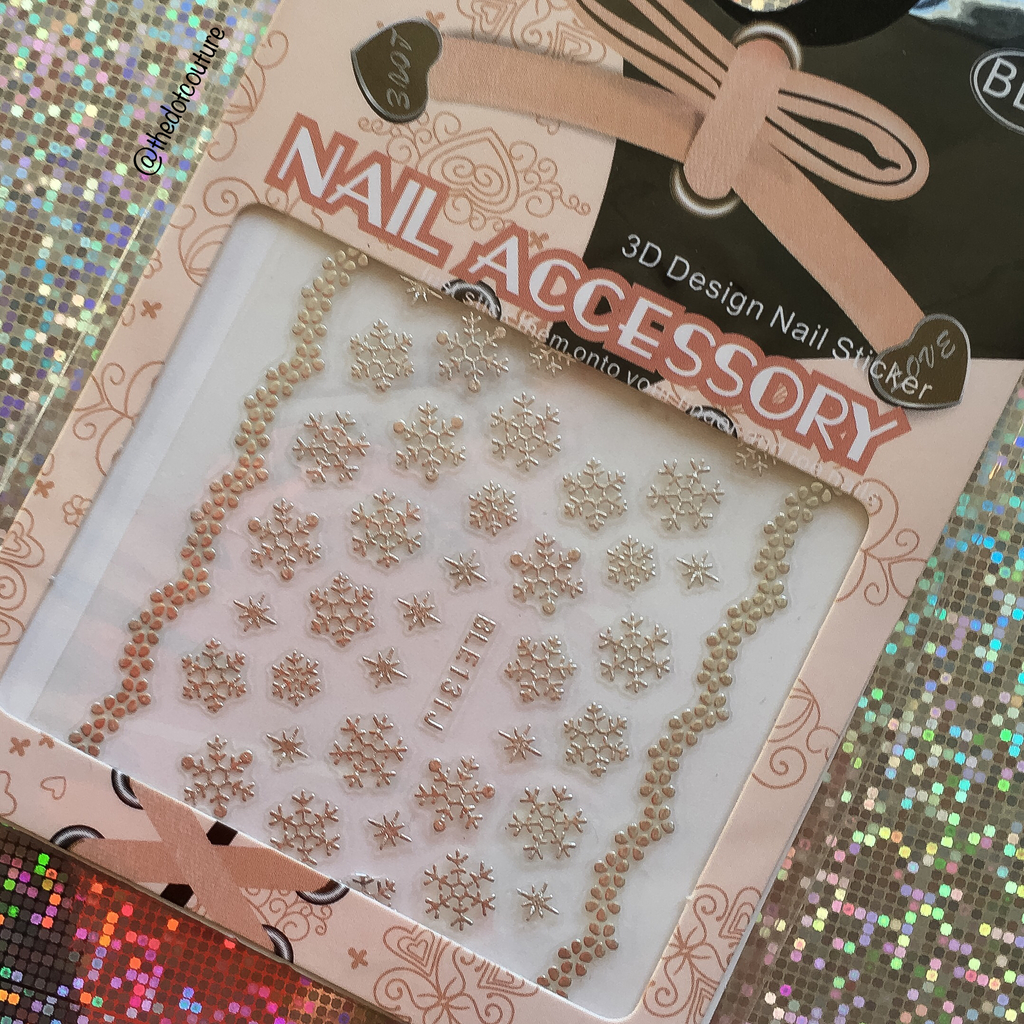
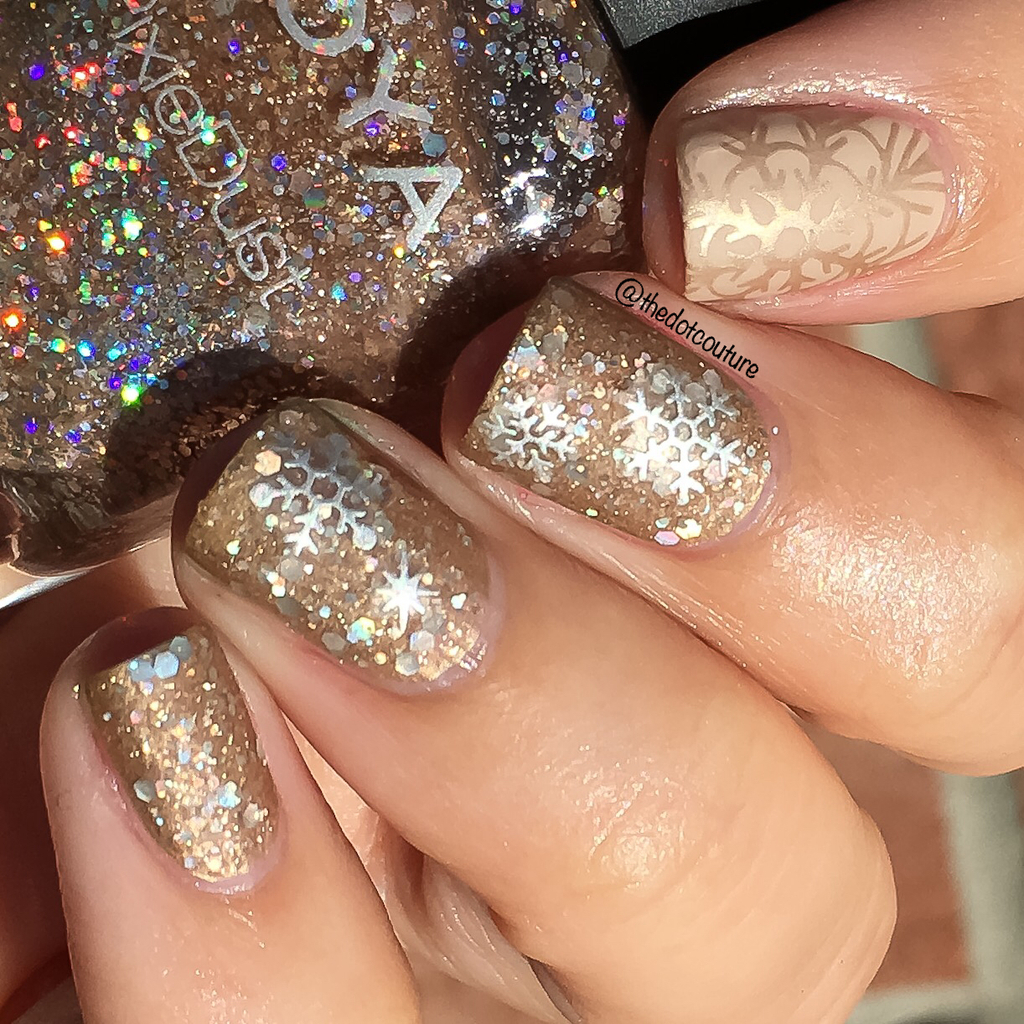
Nail stickers are really simple to use if you don’t feel confident in your artistic abilities. I used a super sparkly polish and some snowflake stickers to achieve the look below. I added a stamped accent nail as well!
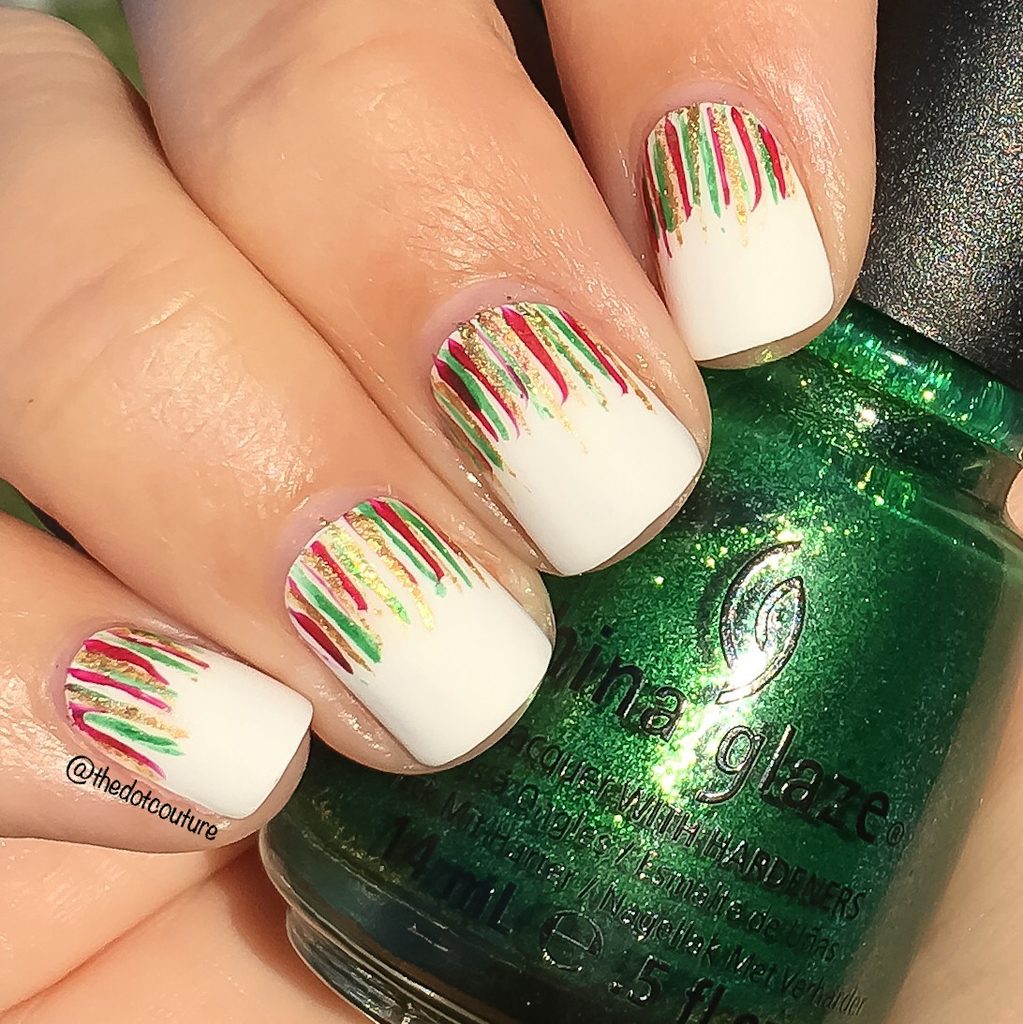
Using our red, gold, and green nail polishes again, I created what’s known as a “waterfall mani” in the nail art world. It’s very easy to create – using a small craft or paint brush, draw small lines coming from the top of your nail downwards.
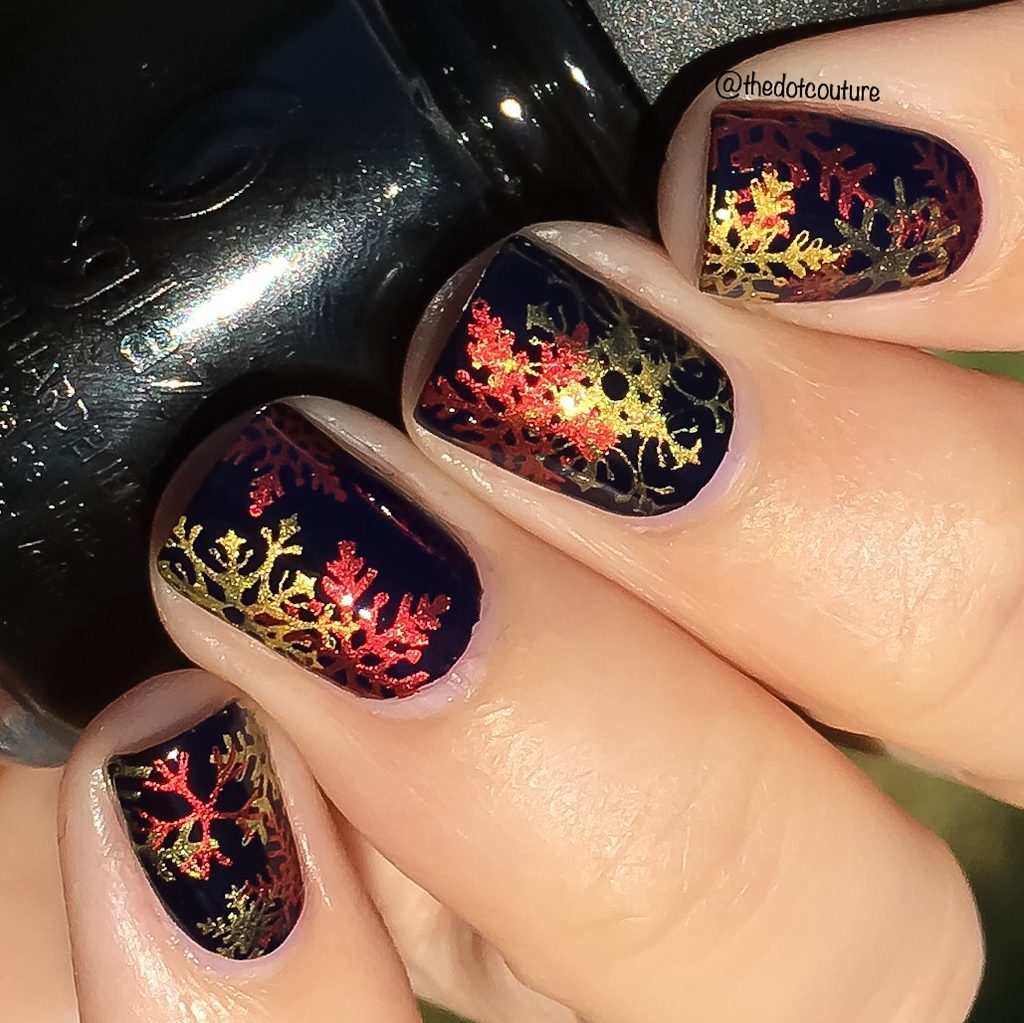
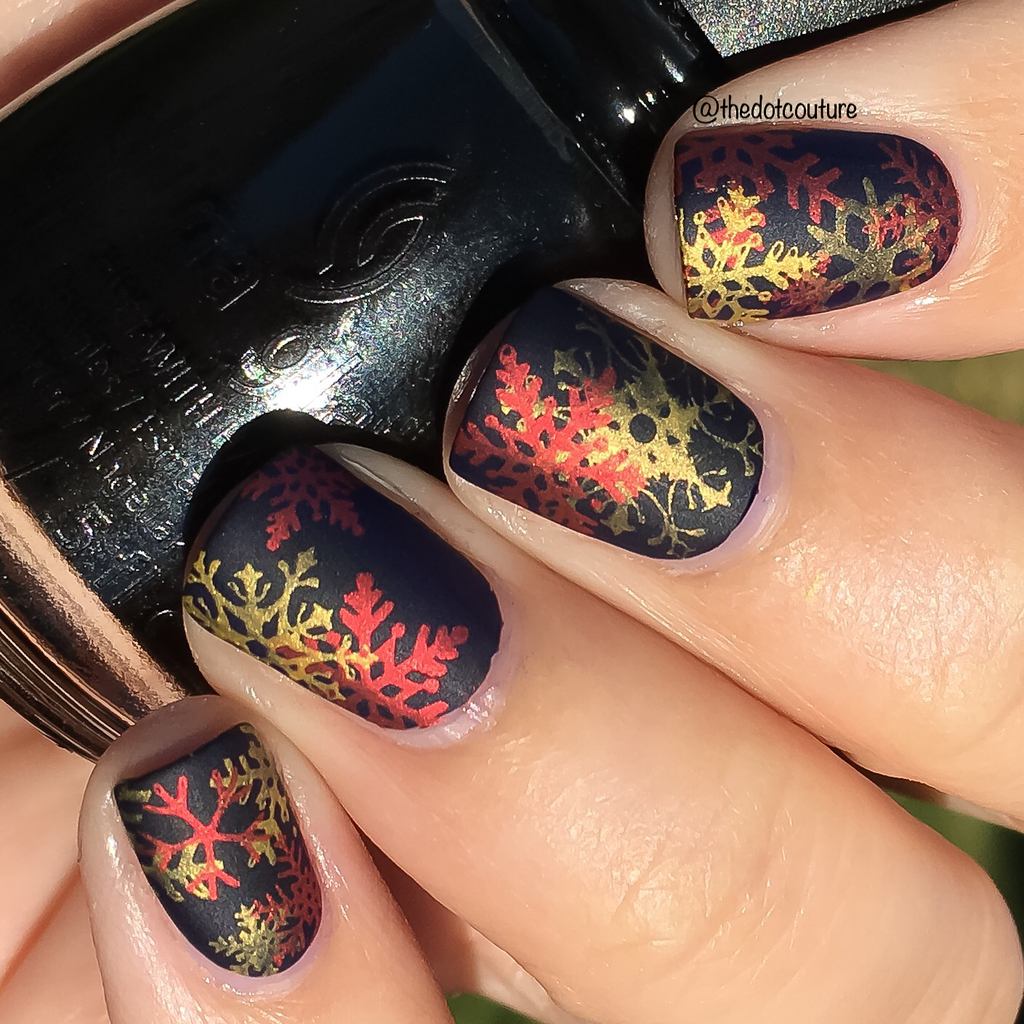
Prefer a look in more non-traditional Christmas colors? How about some red and gold snowflakes stamped (or painted) over black? This is a more sophisticated take on a holiday mani.
You can even add a matte top coat to make it more elegant and subdued!
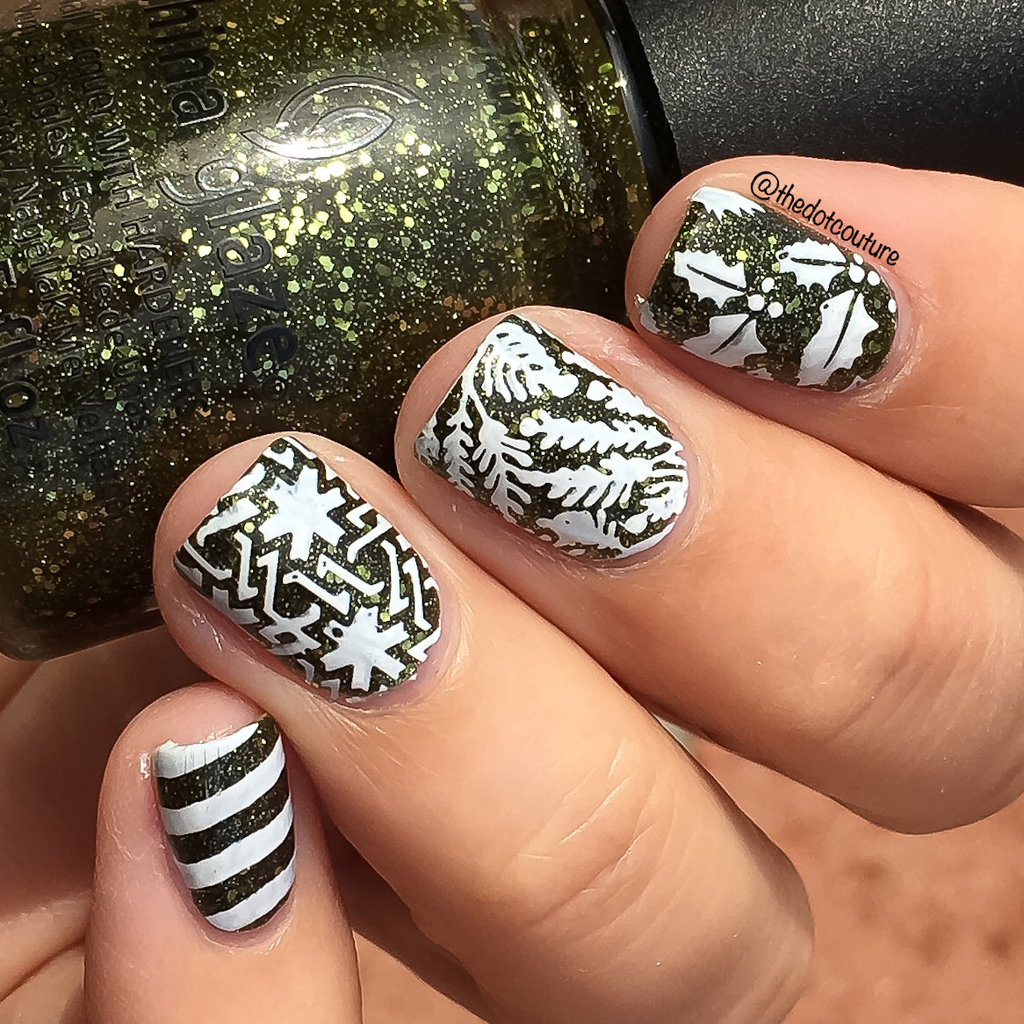
There are some beautiful Christmas stamps out there if you don’t want something that necessarily screams Christmas. I love how the sparkly moss green contrasts against the white!
The pinky nail is totally candy-cane inspired – I loved the green and white candy canes as a little girl. Candy canes are pretty much my favorite thing about Christmas….and the presents…and snow… and cute nails.
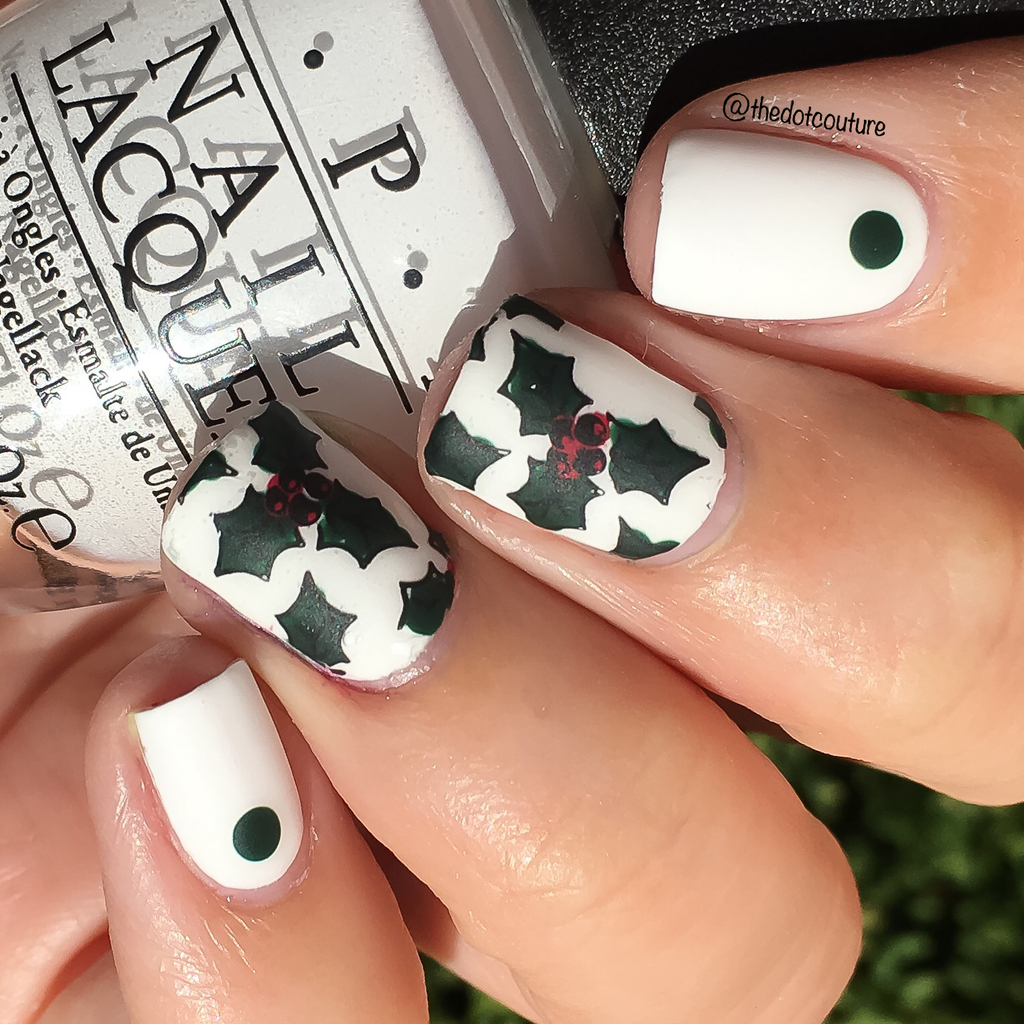
I used a reverse stamping technique to create these holly berry nail decals – you stamp an image onto your stamper and then basically paint (or color) inside the stamp with nail polish. Transfer onto a painted nail and you have an instant nail decal. I placed a simple dot on my pinky and index finger for an accent.
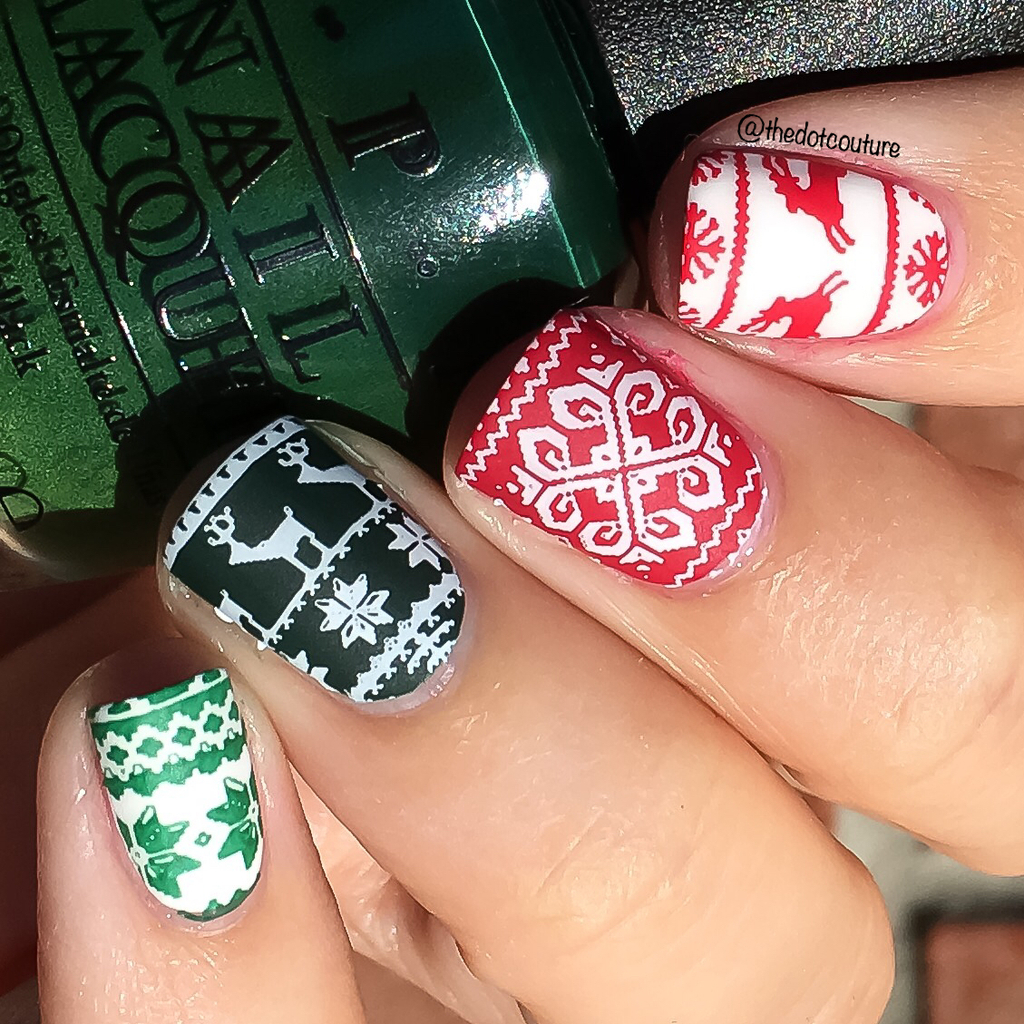
What’s Christmas without an ugly Christmas sweater? Or ugly Christmas-sweater inspired nails? I am obsessed with these types of Christmas sweaters so I knew I had to do inspired-by nails. There are tons of fun stamping plates out there but if you are feeling ambitious you can use acrylic paint and freehand them.
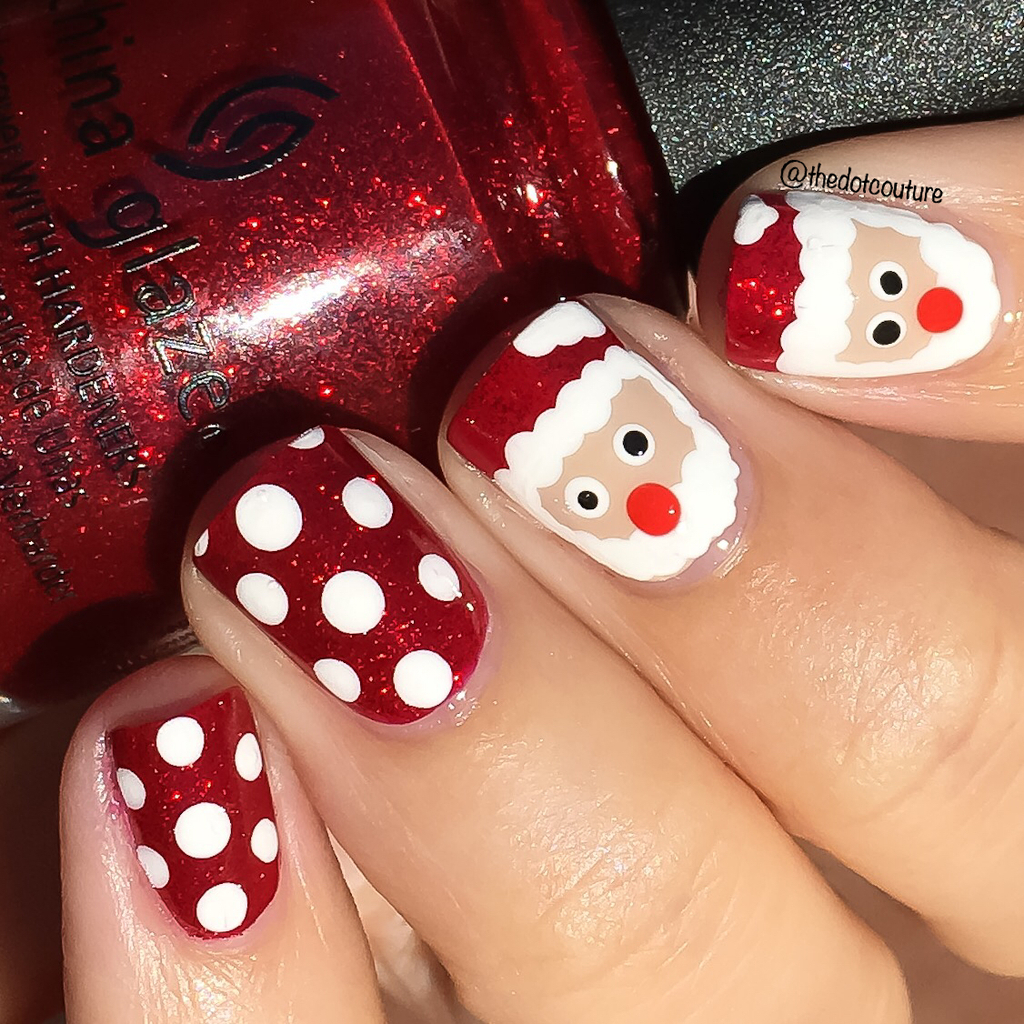
I saved the best for last – SANTA of course! I hand-painted some Santa nails and these are so much easier than you think! First you paint your nail your desired base. Then paint the top 1/4 of your nail a red polish. Using a bobby pin or dotting tool, use white acrylic paint and dot around the edge of your nail to create his beard/brim of his hat. Dots for eyes and nose, and some white dots at the top to create his pom pom finish this look! I added white polka dots to the two nails I didn’t paint Santas on.
I hope this post inspired you to get festive with your nails this holiday season! You can make it as simple or as complicated as you want! I am all about the snowflakes and will be sporting them for the next few months (hey I do live in Canada where it snows for 9 months of the year!). Will you be doing any festive manis this year?
If you would like to see more great holiday looks head on over and check me out on Instagram at @thedotcouture – I’d love to see all of the holiday looks you create! Happy and safe holiday wishes to you and your family.
Until next time, happy painting!
Jenny
