Working with the style team at Disney IMG, we decided to give you fun a tutorial today on a cute hairstyle that can be worn to the Disney theme parks!
In every hairstyle video we create for Disney, my girls have been hiding a Mickey Mouse somewhere in the shot that fans can spot and comment when they find it. Our fans are having so much fun with these “Hidden Mickey’s” that we thought it would be fun to do a not-so-hidden Mickey as hairdo!
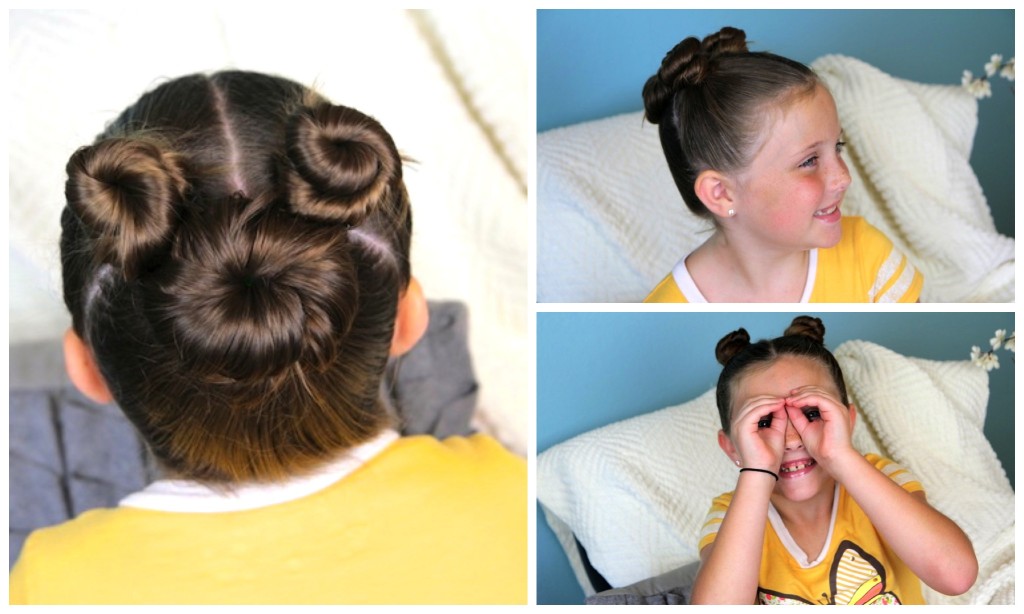
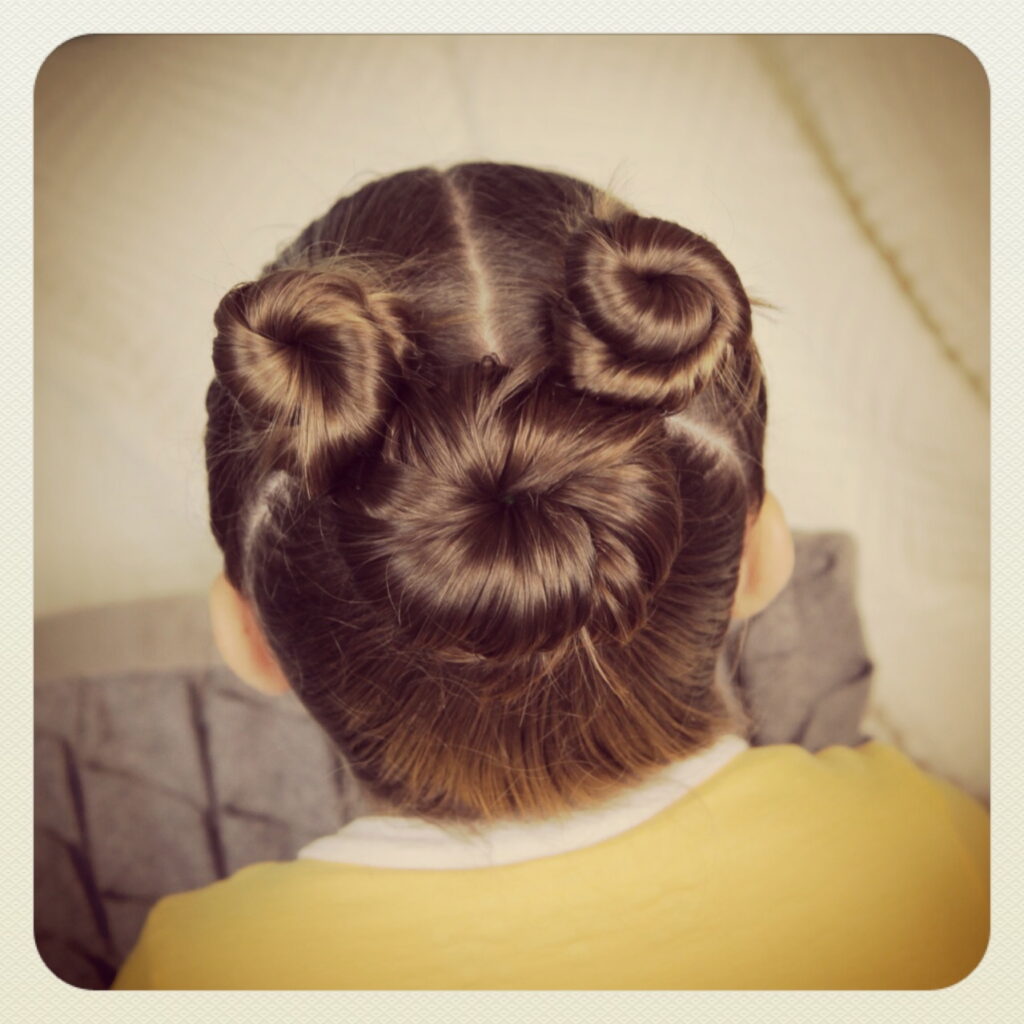 This hairstyle really is not complicated at all. If you can tie a simply ponytail, and wrap it into a bun… that is all you need to know!
Simply follow the step-by-step instructions below, and watch the video tutorial and you are all set!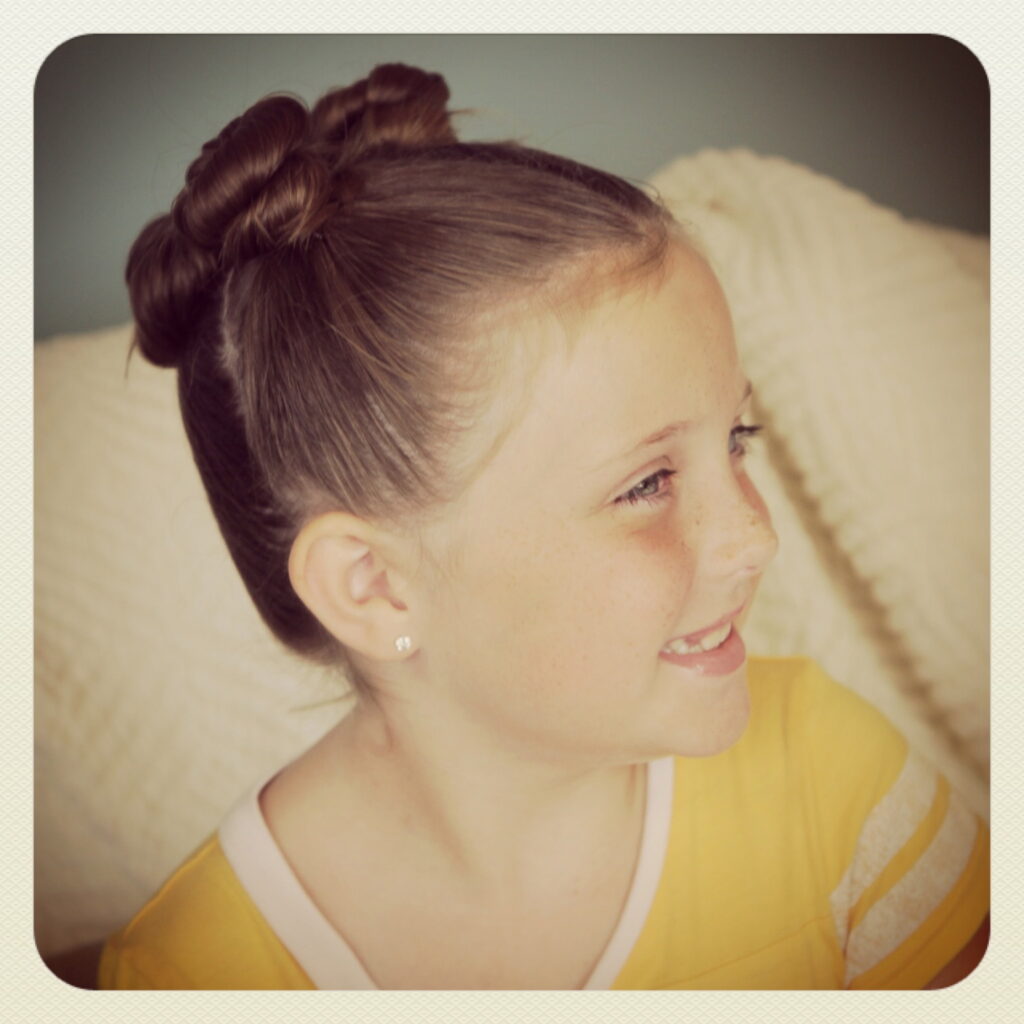
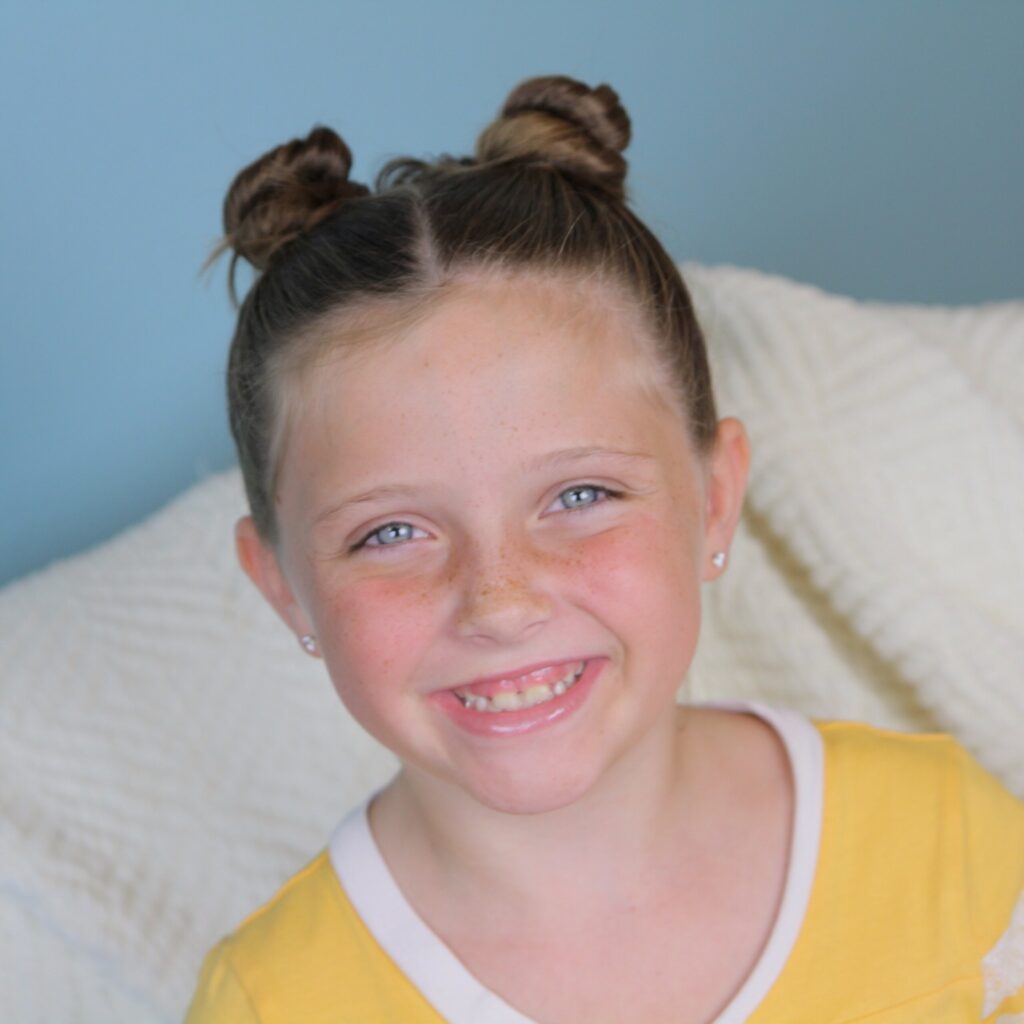 I guarantee that your daughter will receive compliments all day in the park, and other children are running around trying to spot the Hidden Mickey’s!
Enjoy!
Items Needed: Brush, rat-tail comb, 3 hair bands, 3 hair elastics {matching hair}, and 3-6 bobby pins.
Time Requirement: 5 minutes
Skill Level: Easy
Step-by-Step Instructions:
- Begin by dividing hair down the middle from forehead to crown…
- Now part from crown down to each ear {this will give you three sections of hair. The bottom section which should have about ½ the hair in it, and 2 sections on top that contain approximately ¼ of the total hair in each}…
- Secure the top two sections into ponytails, both of which need to be gathered as close to the inner corner as possible…
- Now gather and secure the bottom ponytail with a hair band as well, as top centered as you can get it {remember we want this to look like Mickey’s head with two ears, so the eventual buns must be touching each other}…
- Now take the bottom ponytail and and wet it down {or optionally use pomade}, then twist the ponytail until it wants to turn into itself, and allow it to coil/wrap itself around the rubber band base. This should create a flat cinnamon bun effect…
- Use a hair elastic to secure this bun around the base, being sure your ends are tucked in {feel free to use a bobby pin to tie in any stragglers}…
- Repeat Steps #5-6 on the top two ponytails…
- Your buns will likely not be touching, becuase of how the hair works with parts, etc, so please use bobby pins to pin the buns together. Do your best to get them to form the Mickey silhouette, and still hide the pins.
- Add hairspray, if desired.
- Optional: Add a red-with-white-polka-dots bow between the ears to create a super cute Minnie Mouse bun!
Please feel free to leave me a comment below letting us know what you think of this new hairstyle! Are there any other Disney-inspired hairstyles you would like to see?
As always, if you loved this hairstyle, please feel free to share it!
Happy Hairdoing!
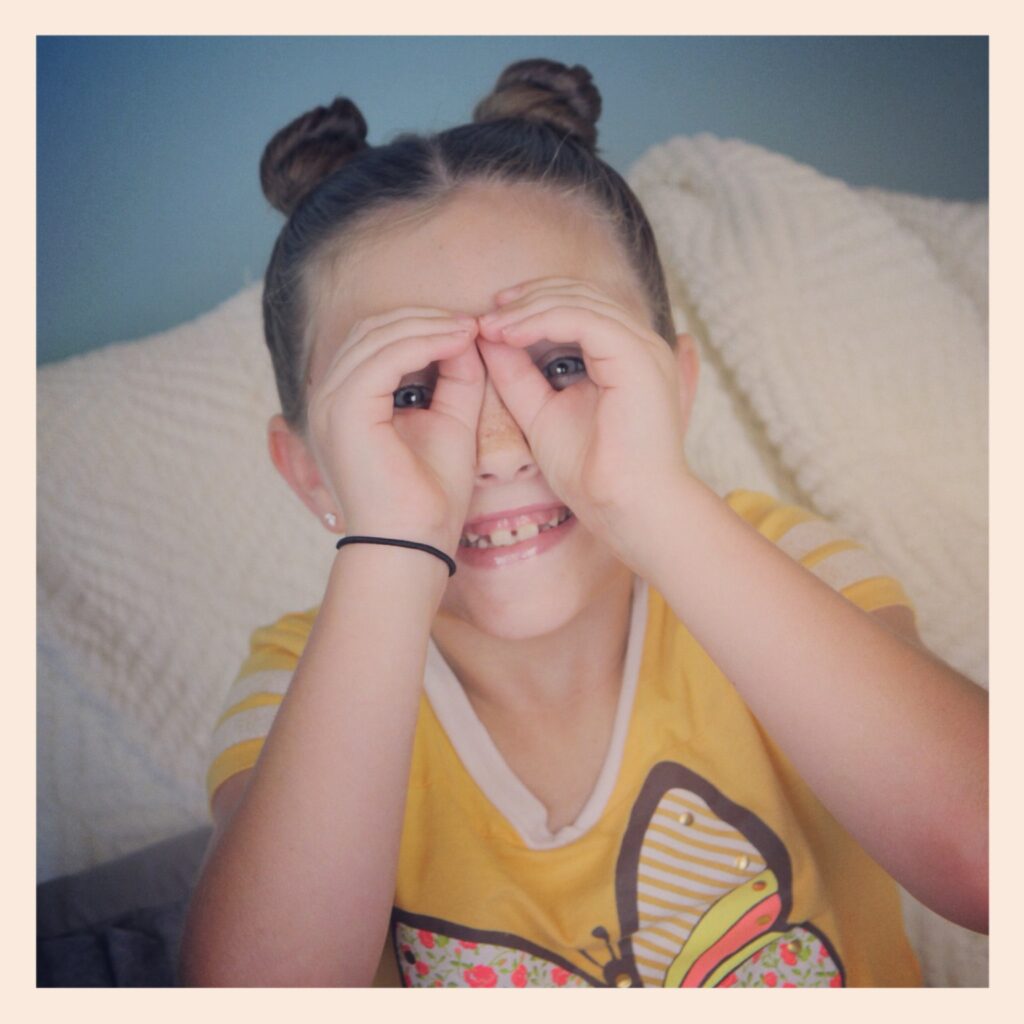


This is such a cute idea! I love it and will definitely be trying it on my daughter’s hair. She’s 12, but still not too old for a hidden Mickey hairstyle!
you should do a disney princess style on each of your girls, and take a picture or video!! Also, it would be cool if you did a Cinderella tutorial. 🙂
Found Mickey !!!!!!!!!!!!!!!!!
What do you do if somebody found him?
I luv your hairstyles you’ve obviously had practiced them a lot huh?
Would you please make more of your awesome hairstyle videos?!!!
🙂
When the camera was on your daughters face was the hidden Micky made her look like Miley Cyrus
I Like it ^_^
Thank U 🙂
Please do more videos 🙂
Another way:
1. Do the same part as Mindy
2. Do the ears the same
3. Instead of the same thing that Mindy did for the head use a sock and do a sock bun.
I like the hair style on the girls hair. it looks easy and very pretty. I will it a try starting tomorrow on my little girl’s hair =)
thanks…
That’s so adorable :). Next time little cousin comes over I’m doing that !!
That looks hard!!! you have a talent for hair!!!
Thanks for all the great hairstyles!!!!!!!!
-Julia:)
http://hairdohow2.blogspot.com/2011/03/lesson-36-hidden-mickey.html
Great minds think alike!
The hidden Mickey is tied onto the blue middle suitcase
I’m going to do this today because I’m going to a birthday party about Mickey Mouse
I spotted the mickey! I love this website. I’ve never known any really cute hairstyles to try on my girls. But now I’m doing something cute every day thanks to you! I did my first french braid today on my kindergartener & it looked fabulous! We’re going to try a diff stylefrom your site every day. Thanks!
Super cute! Will be wearing this next time my family decides to go to Disney 🙂