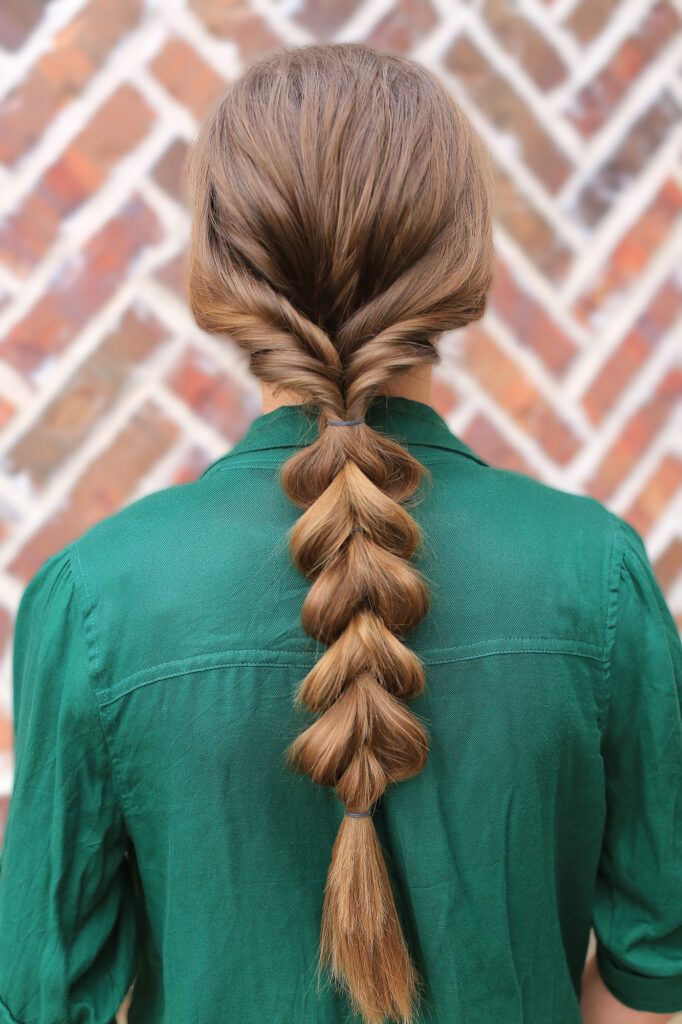
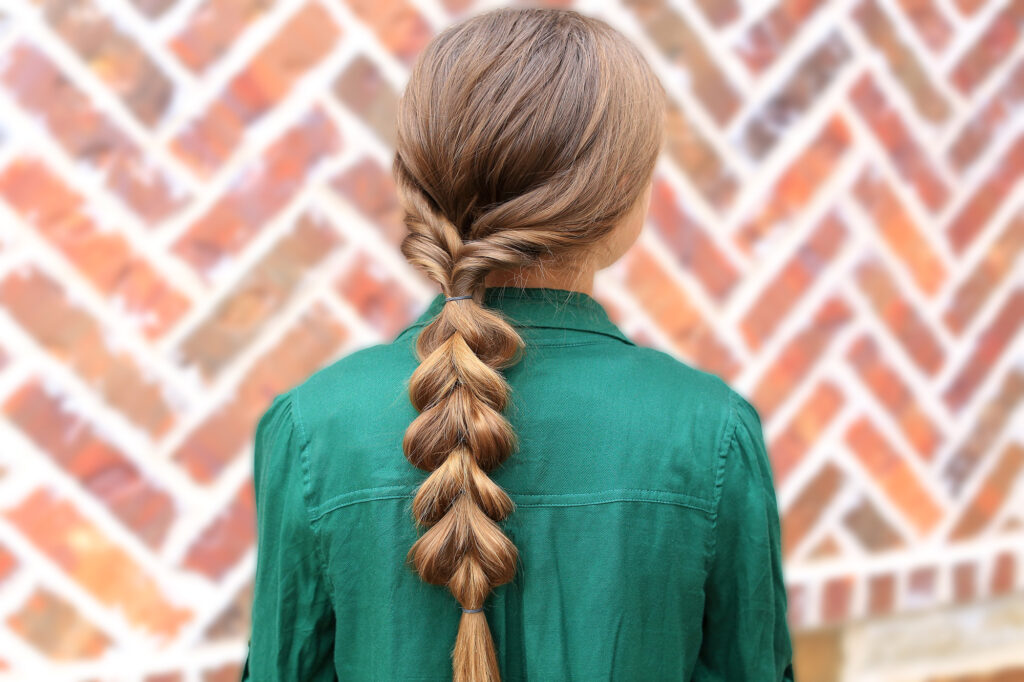
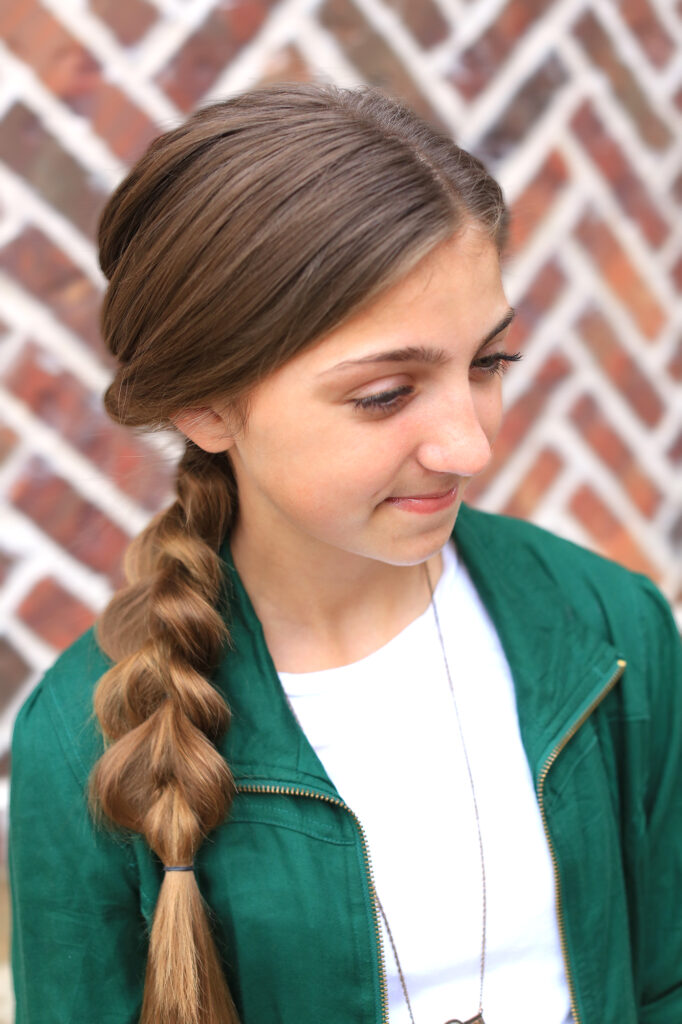
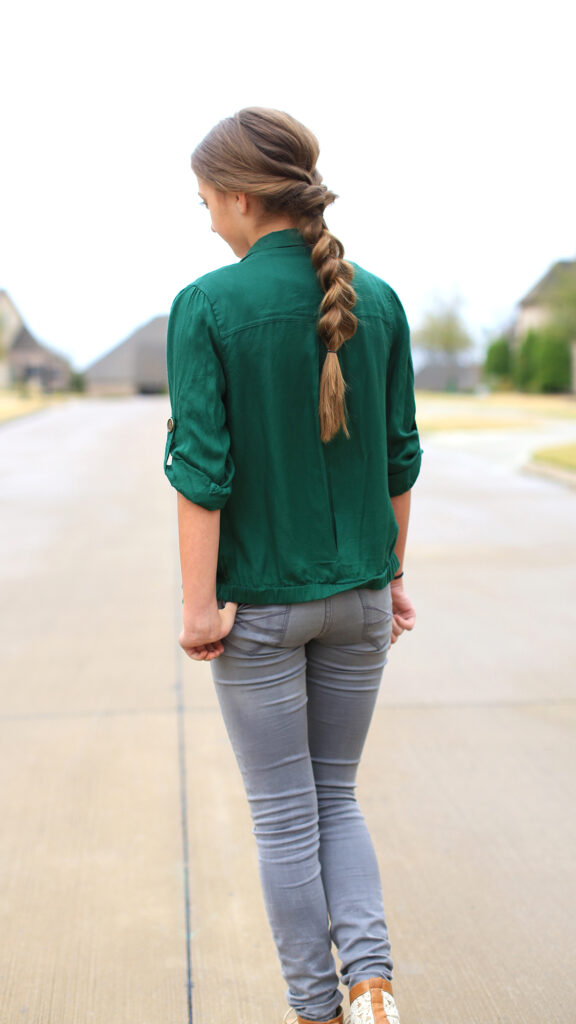
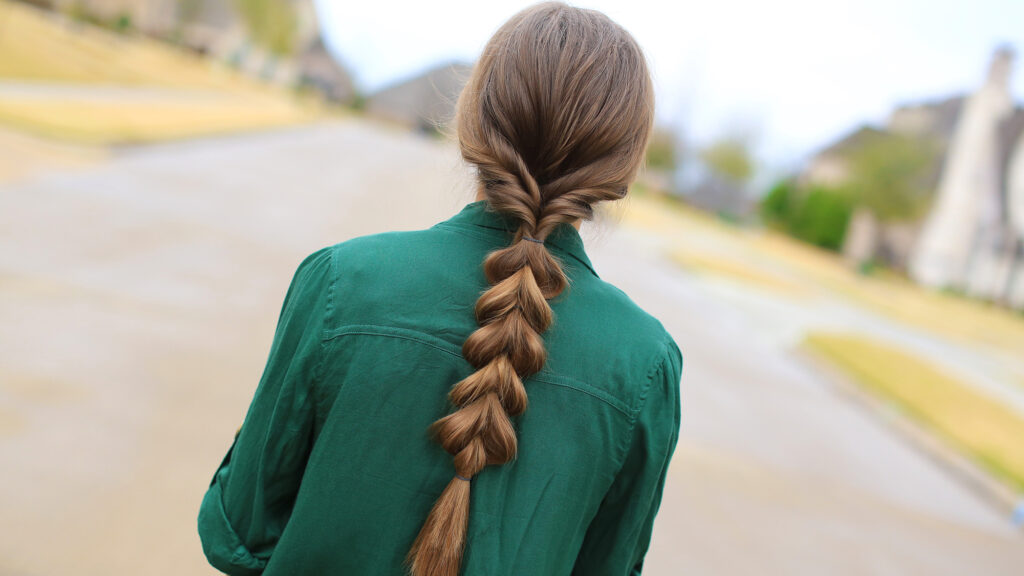
Today, Kamri and I will teach you how to create a Triple Flip Combo. This combination uses techniques we’ve shown you here before…..a series of flip-unders and a pull-through braid.
Kamri LOVES this hairstyle. If you know anything about her, she simply loves these easy combos! Previous Tutorials: Flip Unders and Pull-Through Braid
Inspiration for this braid came from our friend @HudaBeauty on Instagram. To see your own photo recreation of this style featured in our app, feel free to tag your photos on IG using #CGHTripleFlipCombo
Items Needed: brush, rat-tail comb, spray bottle, 10 small hair elastics, hairspray {if desired}
Time Requirement: 5-7 minutes
Skill Level: Medium
- Begin by parting the hair. (Kamri prefers slightly off center)
- Starting at the back of the head and section the hair in three sections. Two side sections (from front to just behind the ear) and one middle. The back/middle section should be bigger than your sides. (see video for details)
- Working with the middle section, smooth the hair with fingers or comb and secure with a small elastic. The elastic should be loose and sit at the middle of the neck.
- Next, create a hole just above the elastic and flip the ponytail through & under. (see video for details)
- Take one of your side sections and repeat steps 3-4.
- Now repeat on the other side section. You should now have 3 sections of hair that you created a flip under ponytail.
- Next, take one of your side pieces and tuck it into your middle flip under ponytail. You will tuck and pull through the center. (see video for details)
- Repeat with other side section.
- At this point you will go back and pull/loosen your flips to create a full/dynamic ponytail with lots of texture. (watch how I do this on the video)
- When your happy with your flip under, you should have two small ponytail ends and one bigger. This is perfect to begin a pull through braid!
- Bring the two small sections of hair from behind, wrap around the front & secure with a small elastic.
- Now continue creating your pull through by dividing the back section in half, wrap around the front and secure with a small elastic. Repeat this process all the way down the hair.
- Last but not least, go back and pancake the pull through sections to create a fluffy beautiful braid! (see video for details on how to pancake the pull through)
This week on Brooklyn & Bailey… “Updated Studio Tour” We made a few changes/updates to our studio. Check out what’s behind the camera on Brooklyn & Bailey and Cute Girls Hairstyles!


this looks cool
So gorgeous! Exactly what I needed!!! Thank you!! ????
This braid is so cute and so elegant! Love it <3
I love these hairstyles! they are so easy and cute!
This is so cute! I love it, and also Kamri’s outfit
Gorgeous
love this!!
I need to try this, I’ve tried the flip but this idea will make it look better
love this!
this is so beautiful!
awesome
Such a cool, fun braid!
cute
Pretty????
This is awesome ????
Both Kamri and the braid is beautiful.
This looks so good
Lovely! Kamri has beautiful hair.
This is beautiful. I love the loose texture that it has.
I love this look !
I love this hairstyle it’s so quick and really pretty
I love this hairstyle for bad hair days at school!
That’s soooo cool!
This is so pretty!
This is one of my favourite posts! I love how creative Mindy is!
So in love with ponytails, and this one is my favorite!
my fav
this looks so nice
I love this hairstyle! So cute!
Soo pretty!!! Kamri is a great model!!
So cute
So pretty!
it’s so cuteee
Sooooo pretty
It’s so pretty!! ????
Beautiful
This is awesome!
Really cute and so easy, love it!
I love this!
Have to try this
Wow, I’m definitely going to try this!!
Omg this hairstyle is so georgous, one of my favorites from you girls!!! Keep up the good work 🙂
So cool!
Adorable!
Love it!!!
Favvvv!!
ohhh this is so cute
i love all of your vids i am also a twin:) you guys are super talented!
I love this kind of braid! And the volume added to the braid when pancaked is my favorite:)
this is so cute! I tried out for the fist time yesterday and loved it!
My favourite!!
You guys should do a tutorial on how to get nice voluminous hair because all of your children’s hair are goals
I love this hairstyle. Especially on Kamri’s hair
Oh my god, this is sooo cute! Why is Kamri’s hair so beautiful??
I wish I had long hair to pull this out!
Love this post! I’m certainly going to try this for school tomorrow. Kamri looks so pretty and mature, time flies too fast! PS. Cute outfit 🙂
Can’t wait to try this
This is soooooooooooooo Cute!!
I LOVE THIS!????????????
I am definitely giving this a try!!????
This one looks simple but cute. Going to try it out on my niece.
I love all your hairstyles!
Can you do one for a side part with bangs and layered shoulderish length hair?
Love this hairstyle!
love it!!!!!
Cute
My fav !!
This #CGH hairstyle is my nowaday favourite hairstyle. I really like the way how it looks! ????????????❤️
This is so cute!
So pretty! I wish my hair was long enough.
Love this hairstyle! Do it my hair as well as my friends. Thanks for the video!
Can’t wait to try this once my hair is long enough????
this braid is so pretty.
supes cute
I love the simplicity of this hairstyle!
I love this hairstyles so creative and cute
Kamri looks so beautiful! Amazing hairstyle ????
So pretty ????
Very pretty!! Thanks 🙂
I love your hairstyles I can never really do my hair that good but your tutorials really make it look so easy.
Love this hairstyle very simple to do!
Thank you so much cor making this tutorial! It is so cute. I did my hair like this for Easter and I got so many compliments.
I love this hairstyle! it is so easy to do on myself and it is so simple and cute
!!