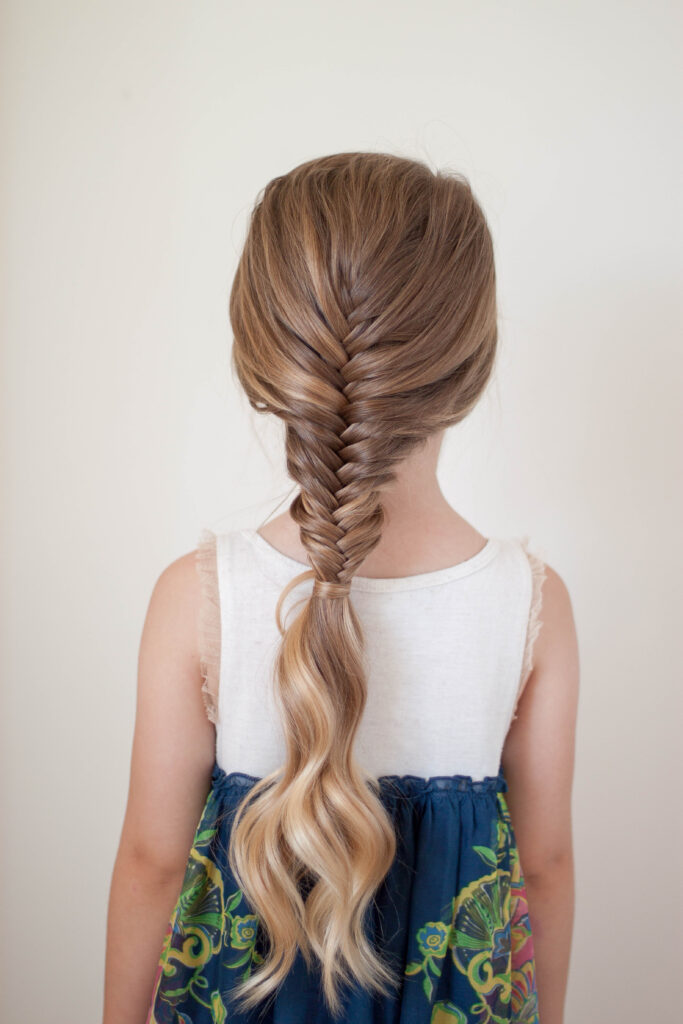
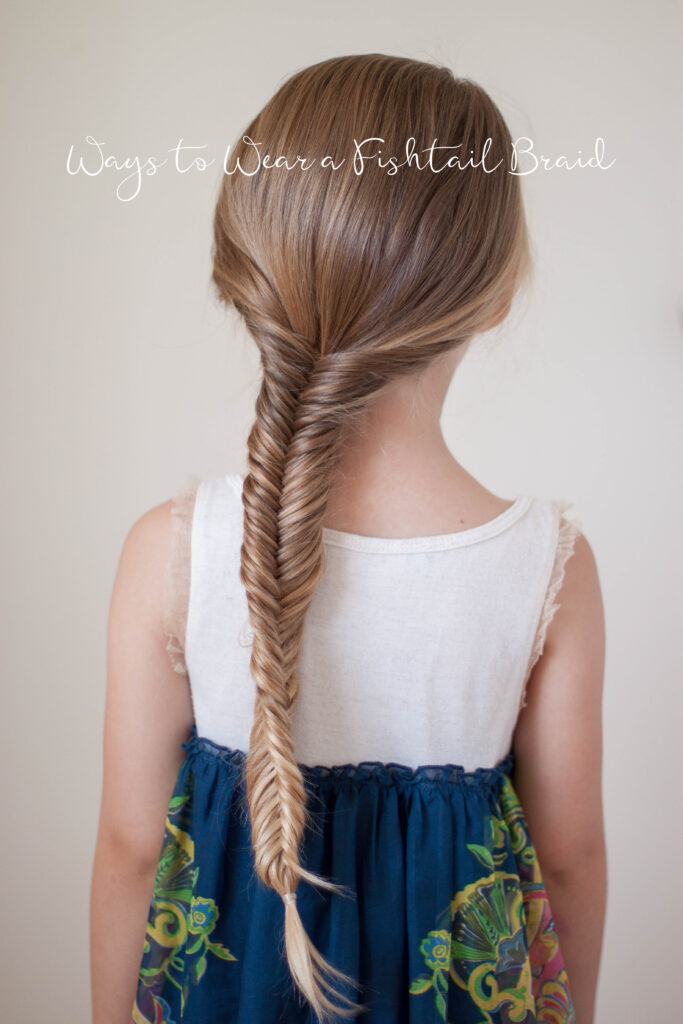
 Here at Abella’s Braids, we LOVE fishtail braids! They are by far our favorite braid because of how elegant and intricate they are! Charlie calls them mermaid braids because they look like a mermaid tail! They for sure take the most amount of time out of all of the standard braids, but it’s worth it! You can do anything with a fishtail braid from a braided ponytail, micro accent braids, or even updos! But today, we wanted to give you some fishtail braiding inspiration!
Fun tip: As you can see in the photo, our braid started to twist because she had curls in her hair from yesterday! The tighter curl your hair has, the more the braid will twist!
Pancaking your fishtail braid: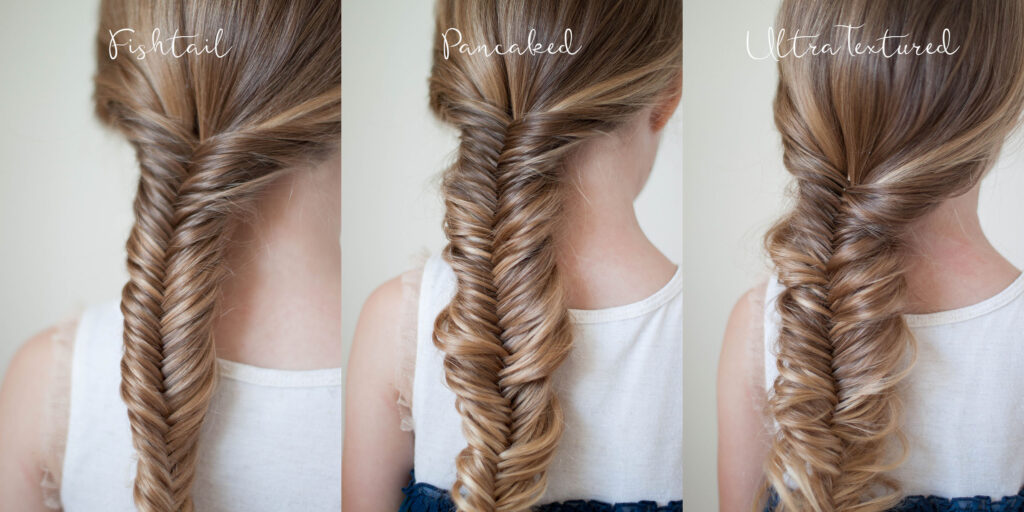 The first thing we wanted to talk about was pancaking your fishtail braids! In the photos above, I started out by doing a low ponytail braid to show you what a plain fishtail looks like. I just brushed her hair all back, gathered it at the nape of her neck, separated it into two equal parts and then started a fishtail braid! I made this one on charlie a little bit to the side so she could easily wear it over one shoulder.
The middle photo is the fishtail braid after I pancaked it. To achieve this, all you have to do is gently pull on the outsides of the braid to fan it out.
The last photo is the ultra textured fishtail braid. This simply means to go back and pancake EVEN MORE! We love the messy look this achieves!
So as you can see, you can many a few different looks with the same braid! Depending on where you decide to start the braid, the possibilities for different looks are almost endless!
Getting creative with fishtail braids:
This is a french version of the fishtail braid. I started low on the head instead of the usual, starting on top. I wrapped the elastic with hair to finish off the look. Now you can get a look at how curly her hair was in order for the braid to do that little twist in the first photo.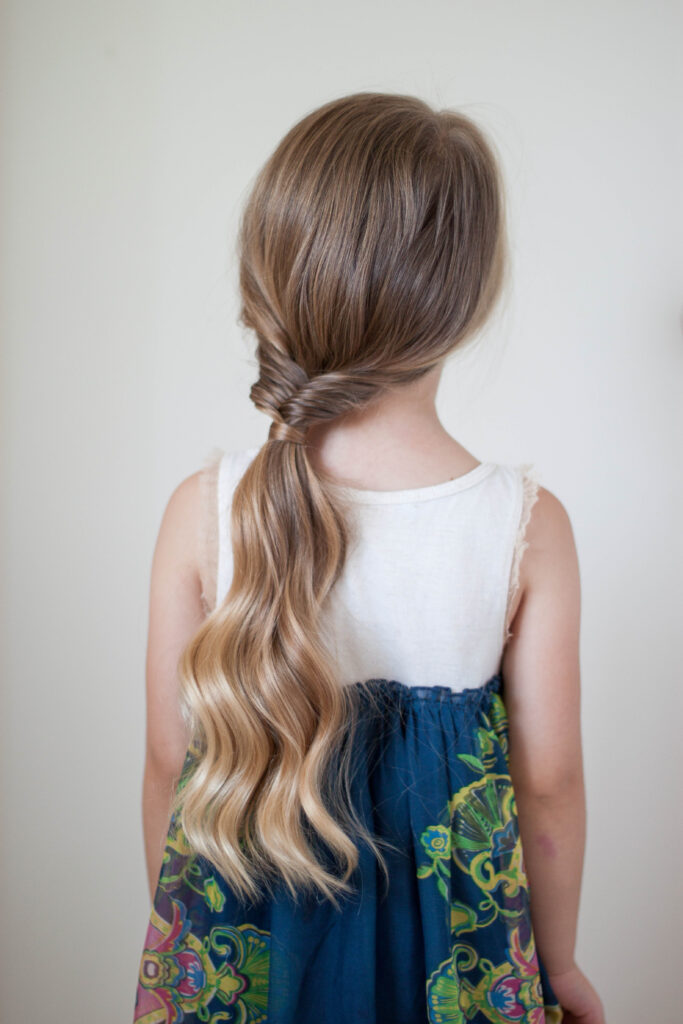 Who says your fishtail braid has to go all the way down? We just braided for a couple of inches, finished off with an elastic and wrapped it with hair. So simple but gorgeous!
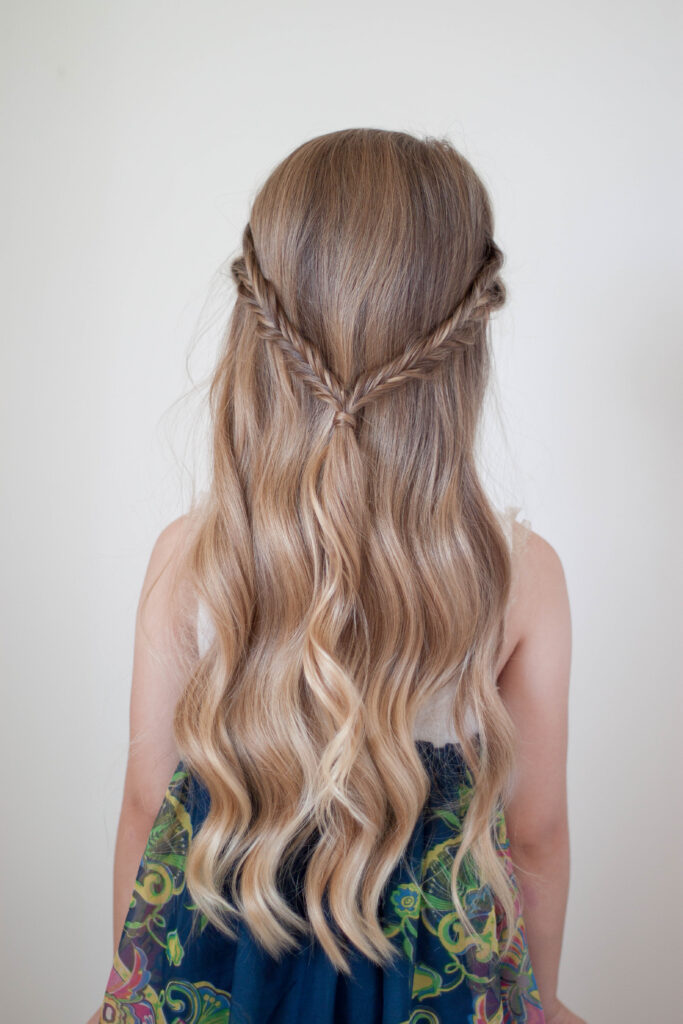 Micro fishtail braids are fun as well! You can do a few and let them hang down, or do a couple on the sides and tie them back with an elastic at the center back!
Combining fishtail braids with other techniques: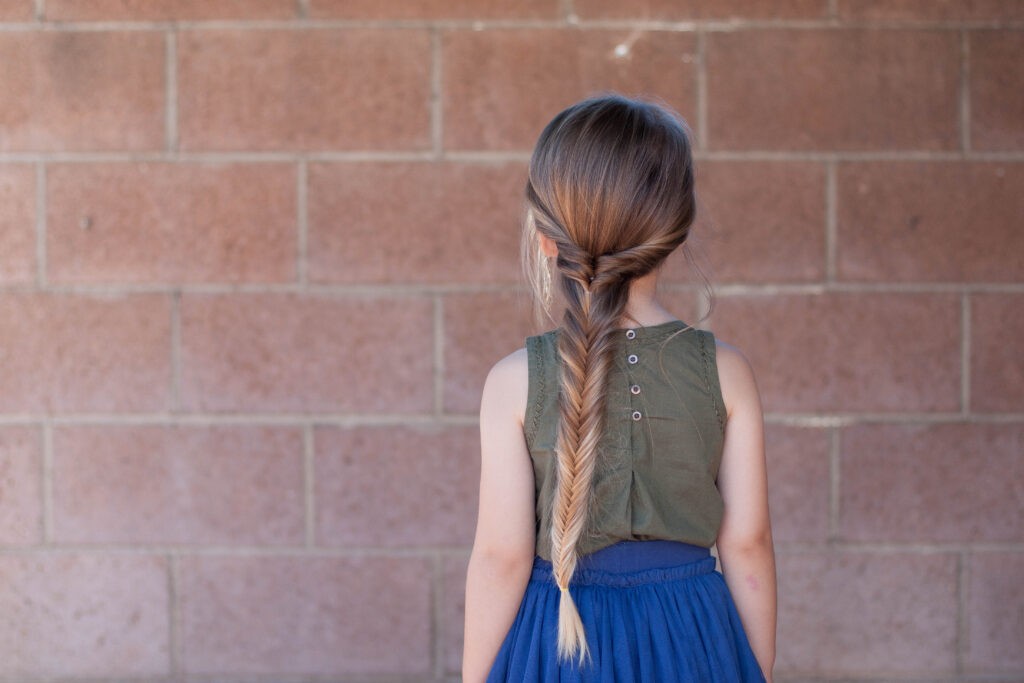
This is similar to the top style but we started by taking pieces from the front, joining them with elastic and flipping them to create a twist. We did this twice, then started a fishtail braid underneath them.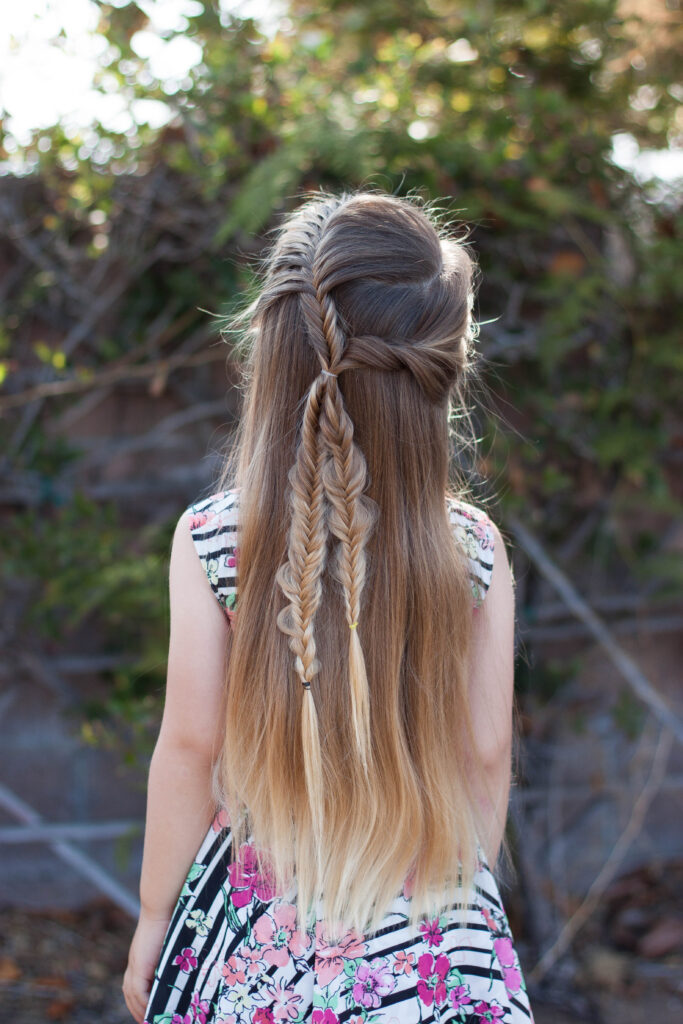 With this one, we started by parting the hair to one side and doing a french fishtail on the heavy side of the part. We stopped adding in hair once the hair was about to the halfway point and fishtailed to the ends without adding in hair. On the other side, we gathered the hair, twisted it all upward, then joined it in the center back with the first braid. Then we fishtail braided the loose part to the ends.
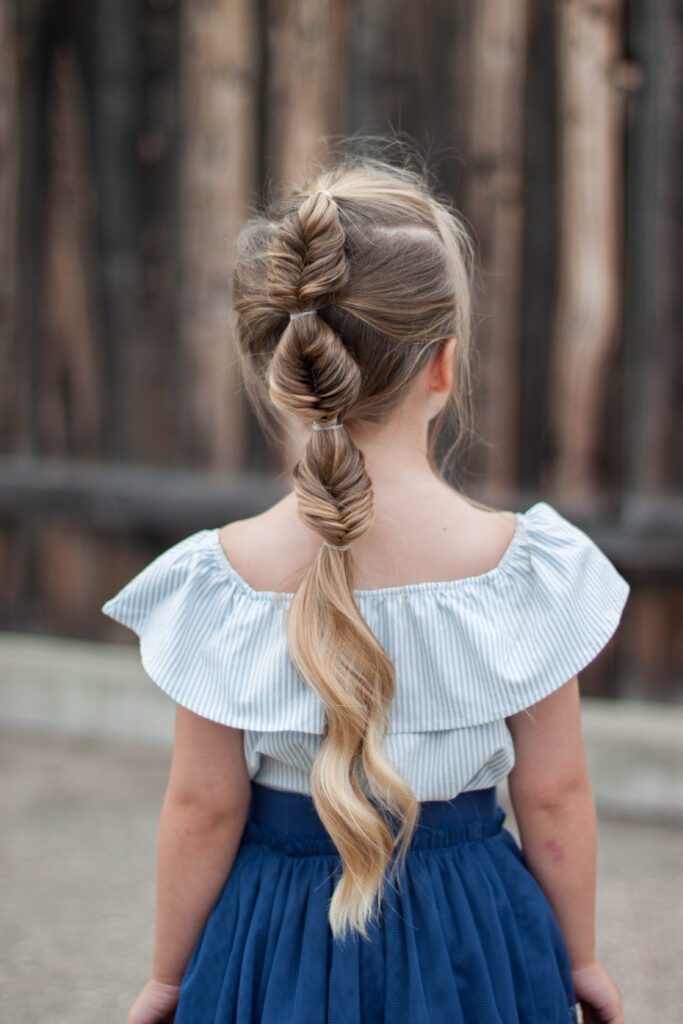 This is a bubble ponytail but we fishtail braided each section before adding in more hair for the next section! We really enjoyed this style, especially because it stayed in really well!
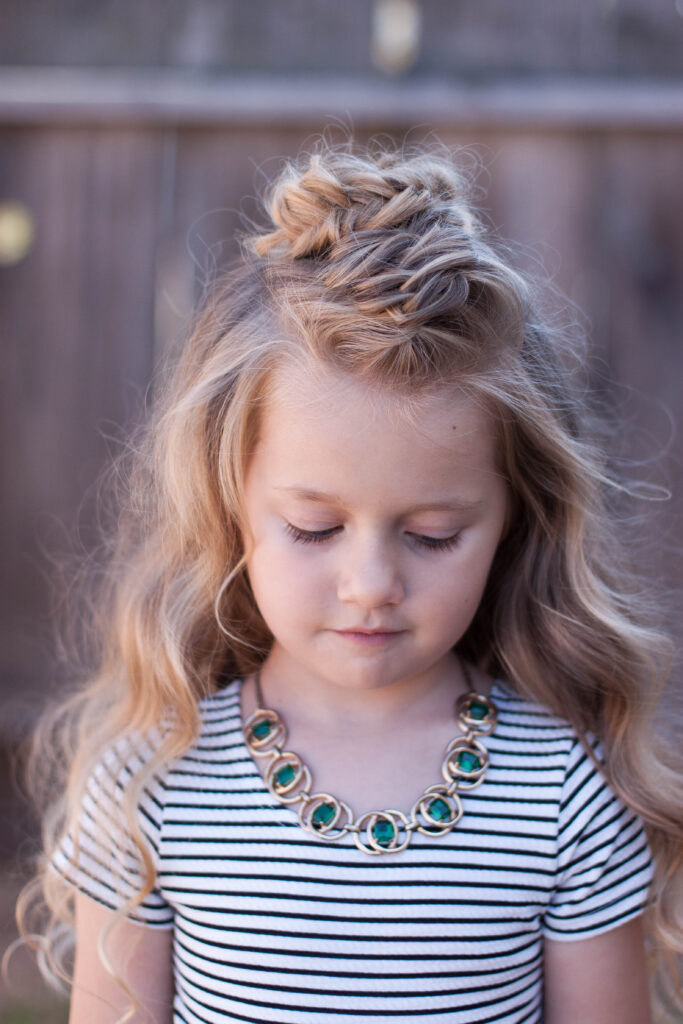 Lastly, we did this cute little half up dutch fishtail bun! If you know us, you know we are obsessed with this type of style right now!
We hope you got a ton of inspiration from this post! Remember when you feel like making up a new style, start somewhere new on your head and just start braiding and see where it takes you! The beauty of braiding is that if you mess it up, just take it out and start again! Don’t be afraid to get creative and put your own twist to any of these styles!
Thank you for reading! Check us out at our website: Abella’s Braids
