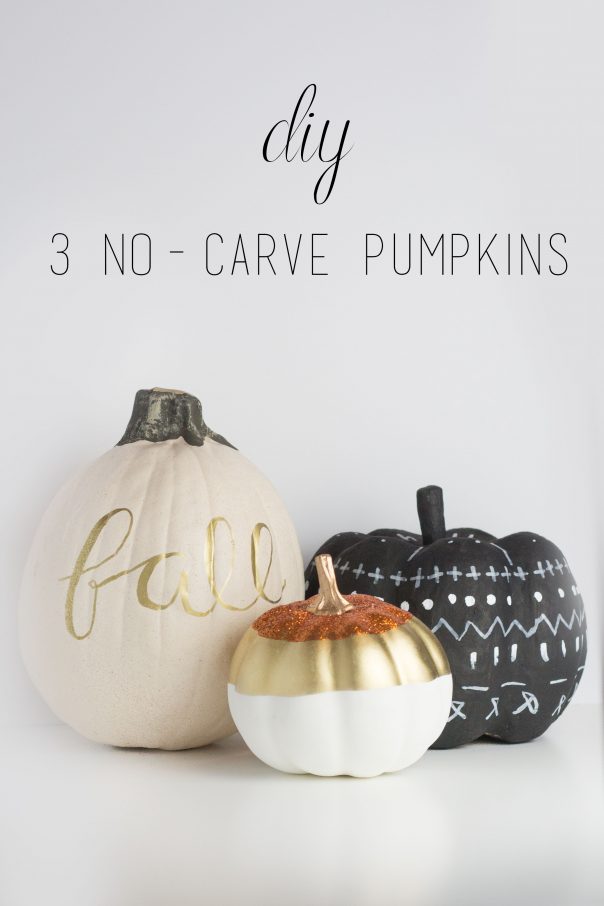
 Fall is in full swing, and I couldn’t be happier. Halloween is right around the corner, so it’s time to start decorating for halloween parties and trick or treating. Although carving pumpkins was always one of my favorite fall activities, being in college this year has caused me to change a few traditions.
This year, I decided to come up with a few no carve pumpkin designs. Feel free to use real pumpkins with these DIYs, though I chose to go with wake ones from the craft store, in terms of ease.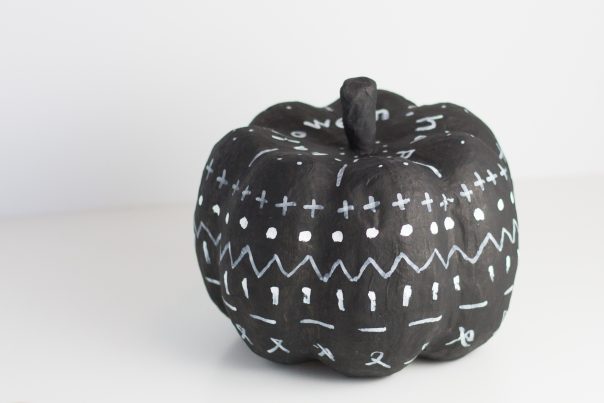 Design #1: Chalkboard Message Pumpkin
The first design is a chalkboard message pumpkin. I painted two coats of chalk paint onto the pumpkin, letting it dry completely between each coat. My favorite thing about this option, is that it’s easy to switch up if you change your mind, or easily fix a mistake. I found a chalk pen at my local craft store, which worked perfectly since it isn’t the easiest to write on a pumpkin. You could write a message, draw a pattern, or both!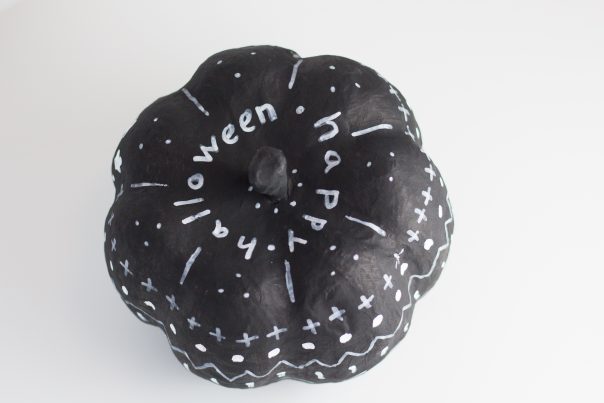
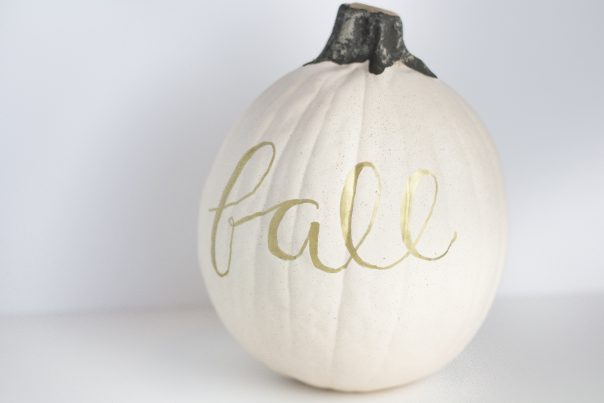 Design #2: Calligraphy Pumpkin
This pumpkin was one of my favorites. Although it is minimal, it adds a nice classy touch of decor. I began with a white pumpkin from the craft store that had already been painted white. Using a pencil, sketch out your design before beginning. Once I had finalized my design, I took a paint pen and traced over the pencil. Wait for it to dry completely, then seal it in with a clear spray paint or mod podge.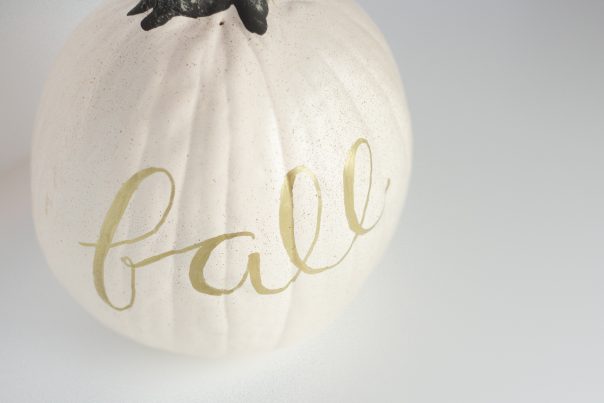
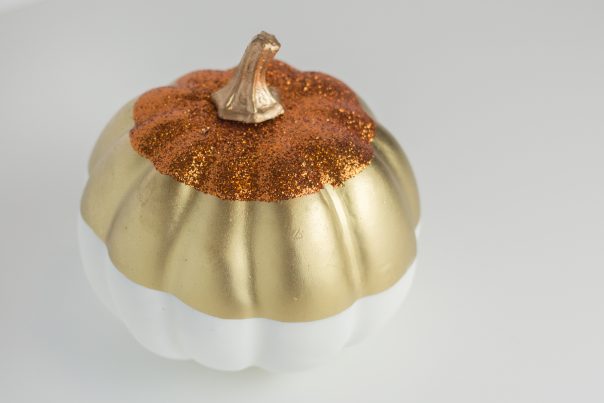
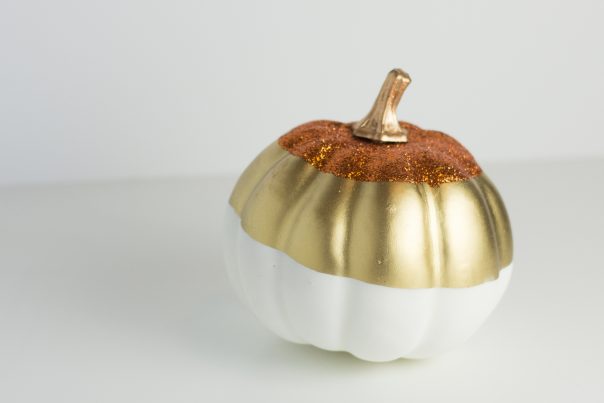 Design #3: Color Dipped Pumpkin
The last pumpkin design is very simple, and easy for kids to help with. I simply dipped a little pumpkin into paint, let it dry, then dipped again. Once it had completely dried, I painted some glue onto the top and sprinkled on glitter. Try different combinations of colors, or dipping at different angles to change it up!